Our New Home Reno Series: Before & After Multi-Purpose Room
If you were wondering what happened with our loft in the new house, I’m happy to report it is finally completed! And if you’re new around here, you can start at the beginning of our New Home Reno series here.
In this article, I’ll share how I was able to create a multi-purpose room in an otherwise “attic” space. Let’s begin with the Before Photos.
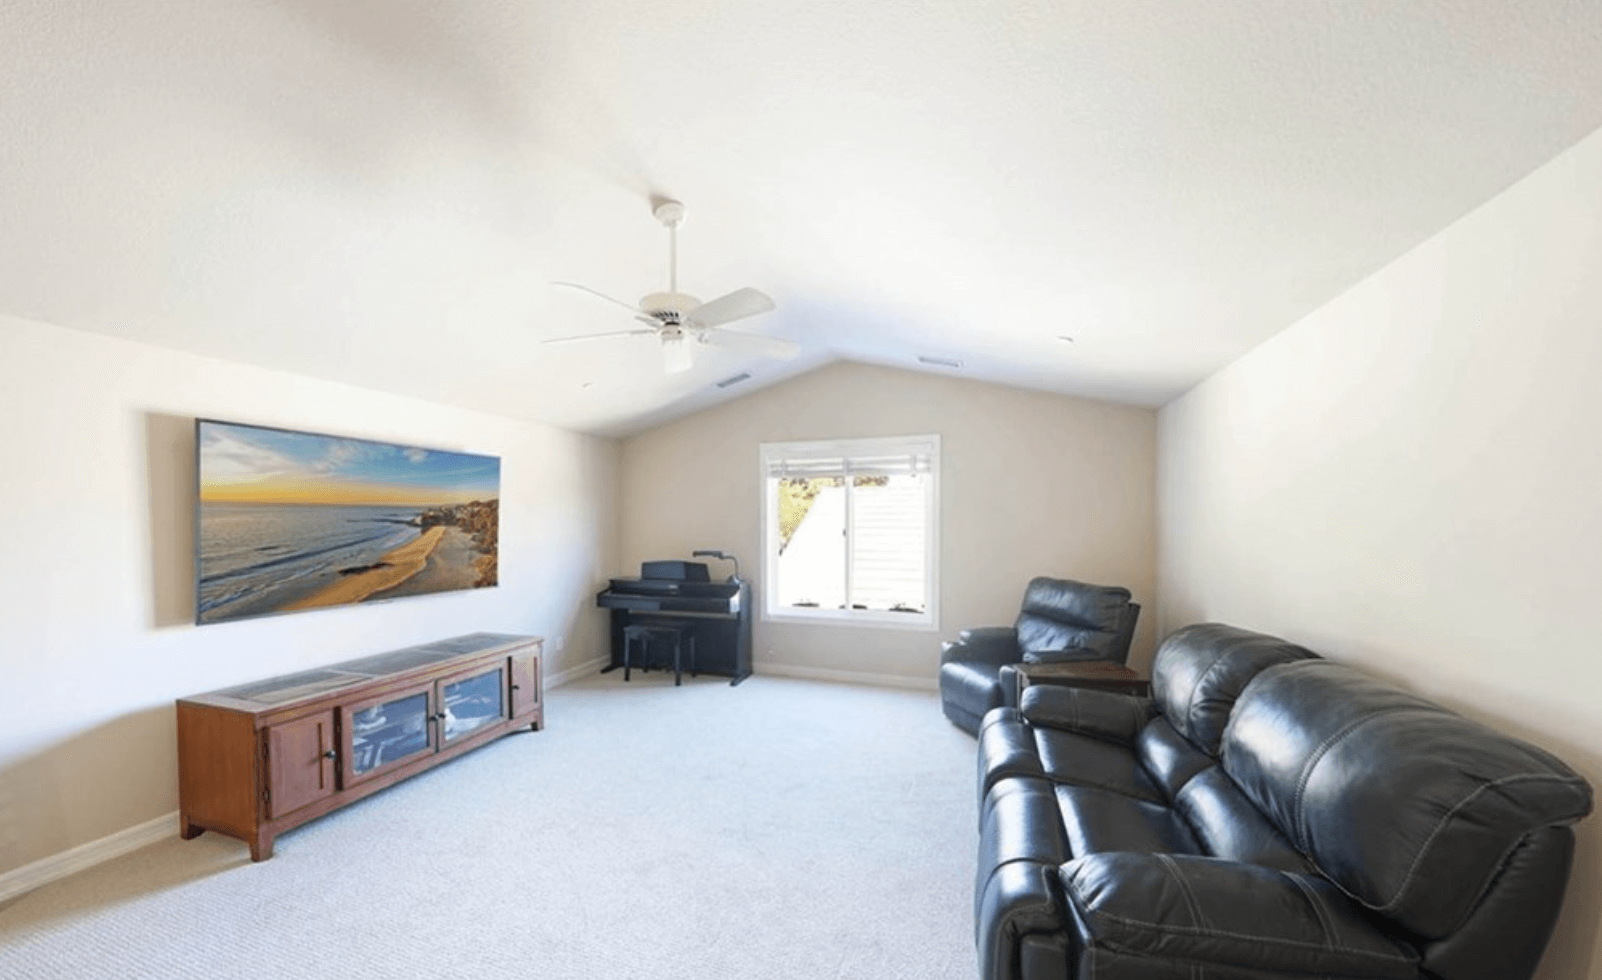
Here’s one from the realtor’s site. It was a completely empty room with vanilla walls and an old worn-out carpet. I could see the potential for a bonus room in this space. My plan quickly formed around a multi-purpose guest bedroom, workspace for my husband, and lots of added storage cabinets and bookshelves which we desperately needed.
To refresh your memory, here are a couple of other Before photos after our hardwood floor went in.
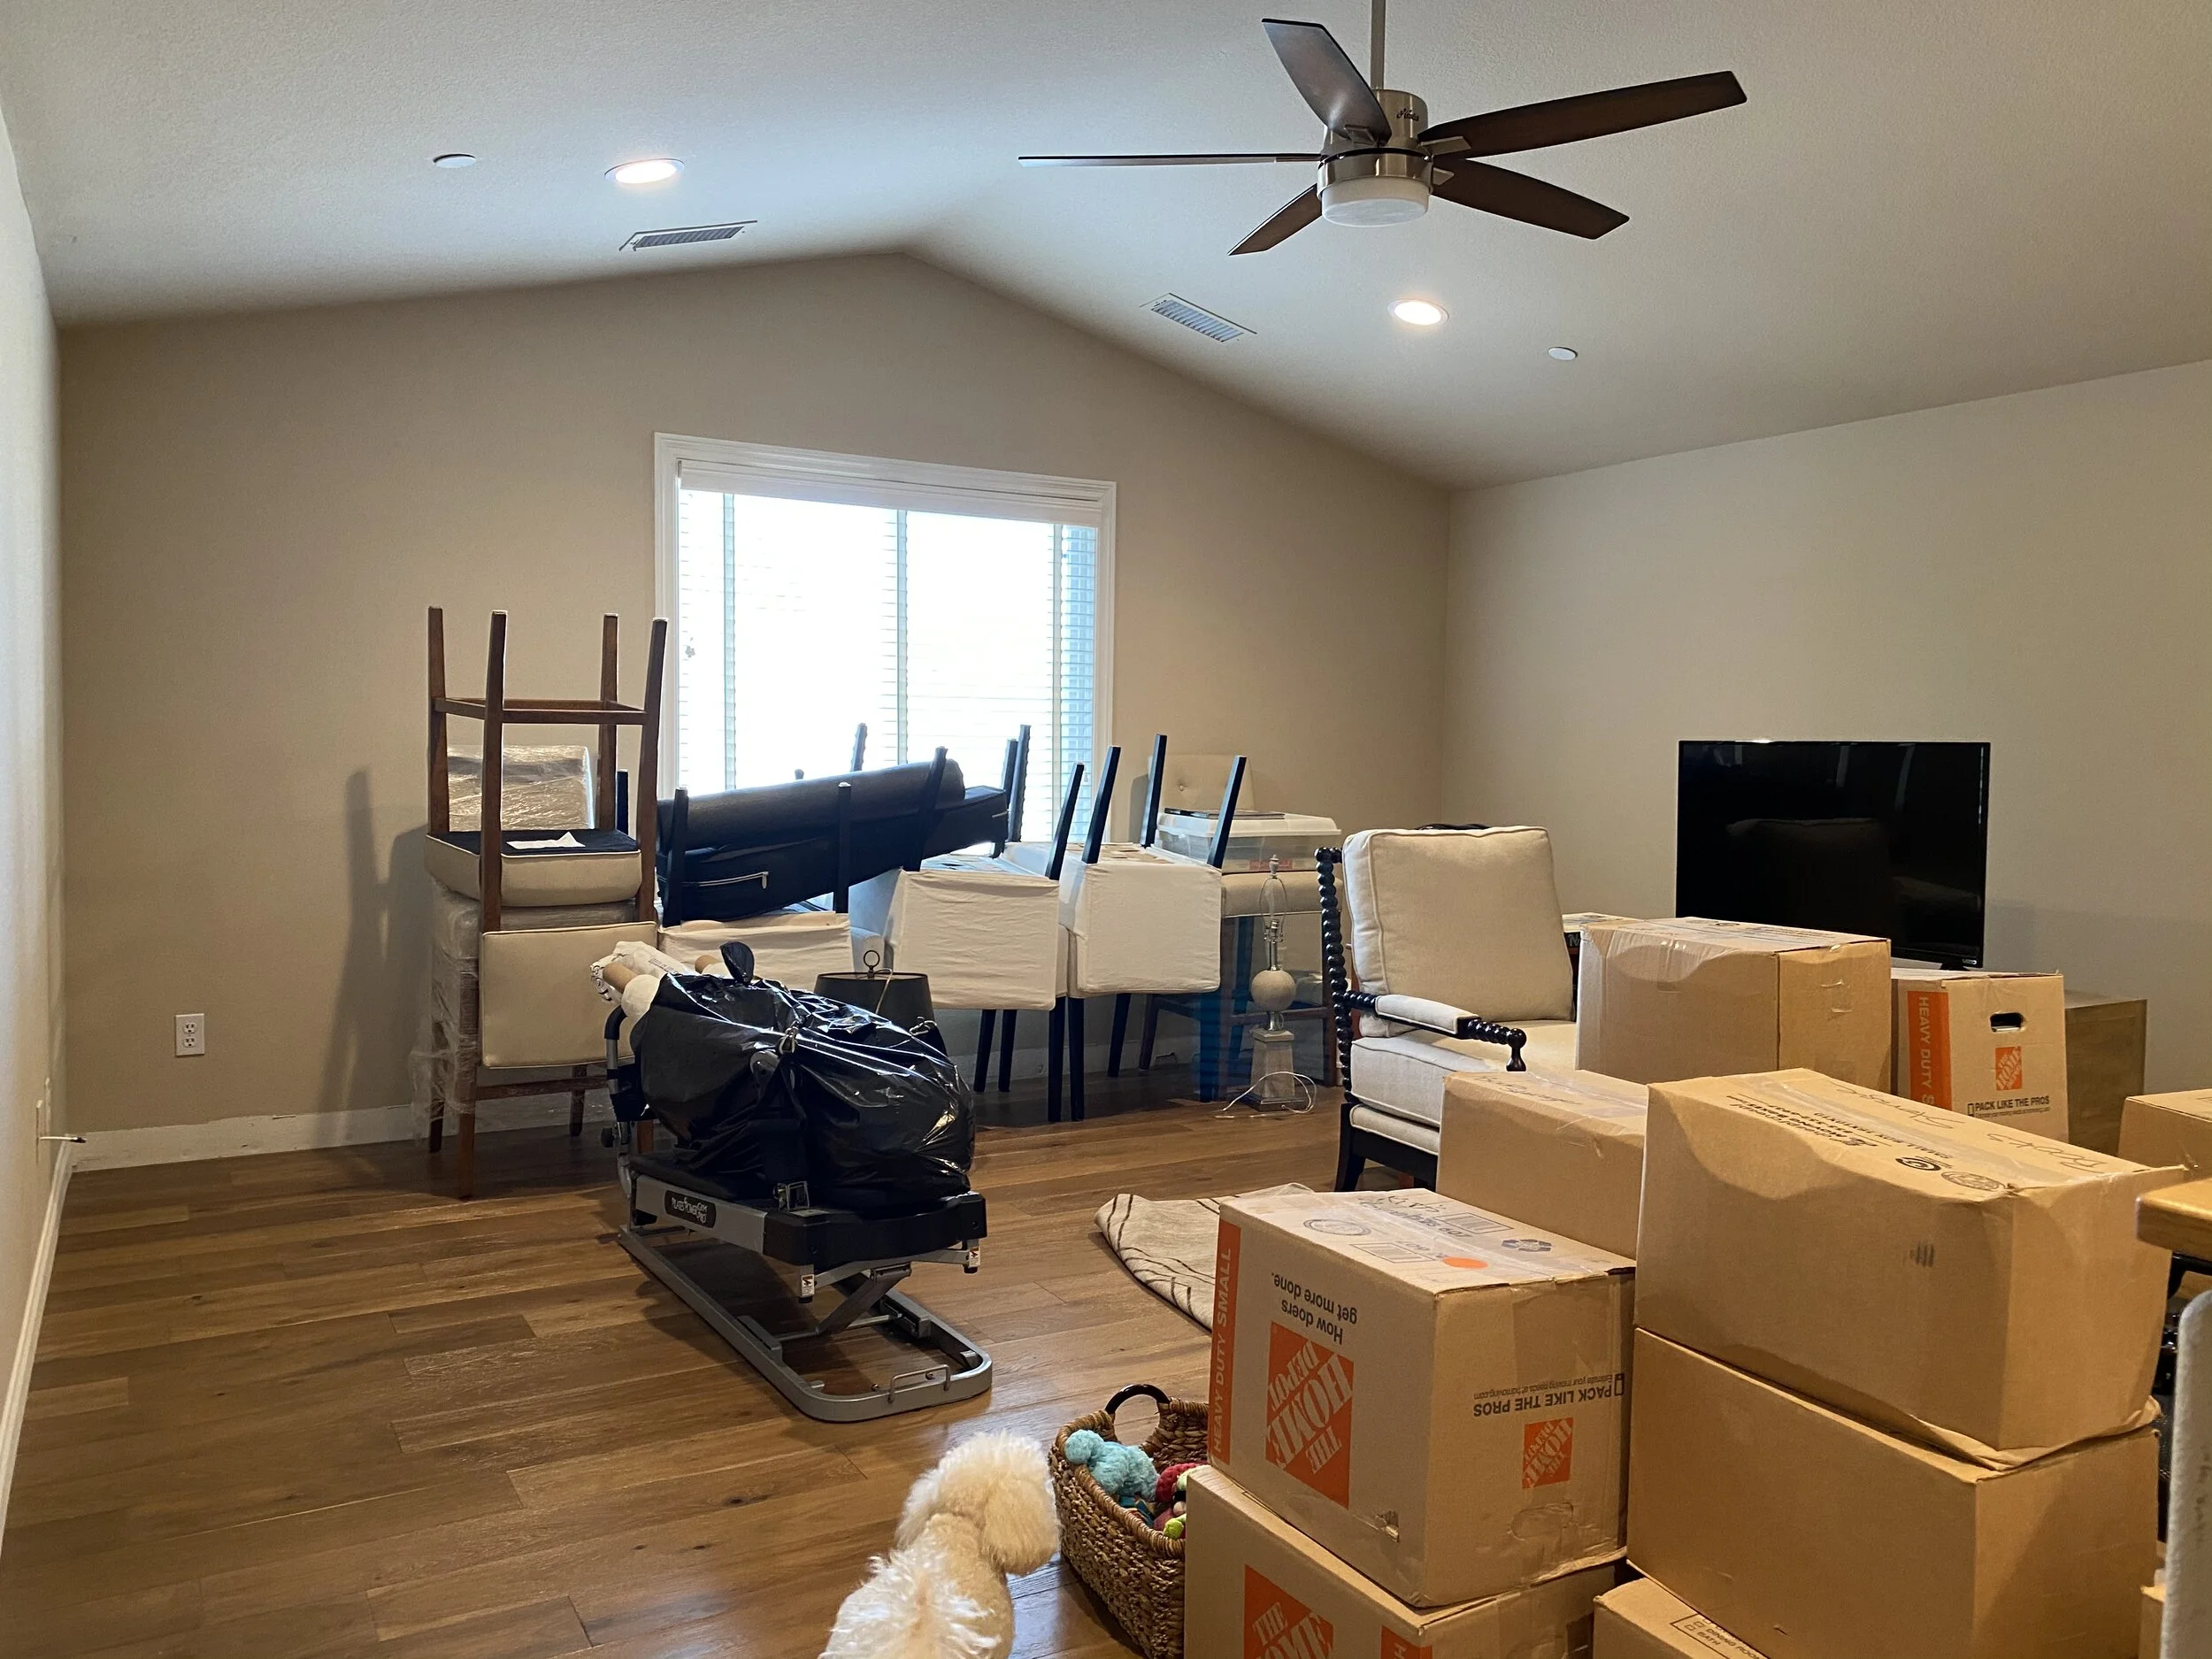
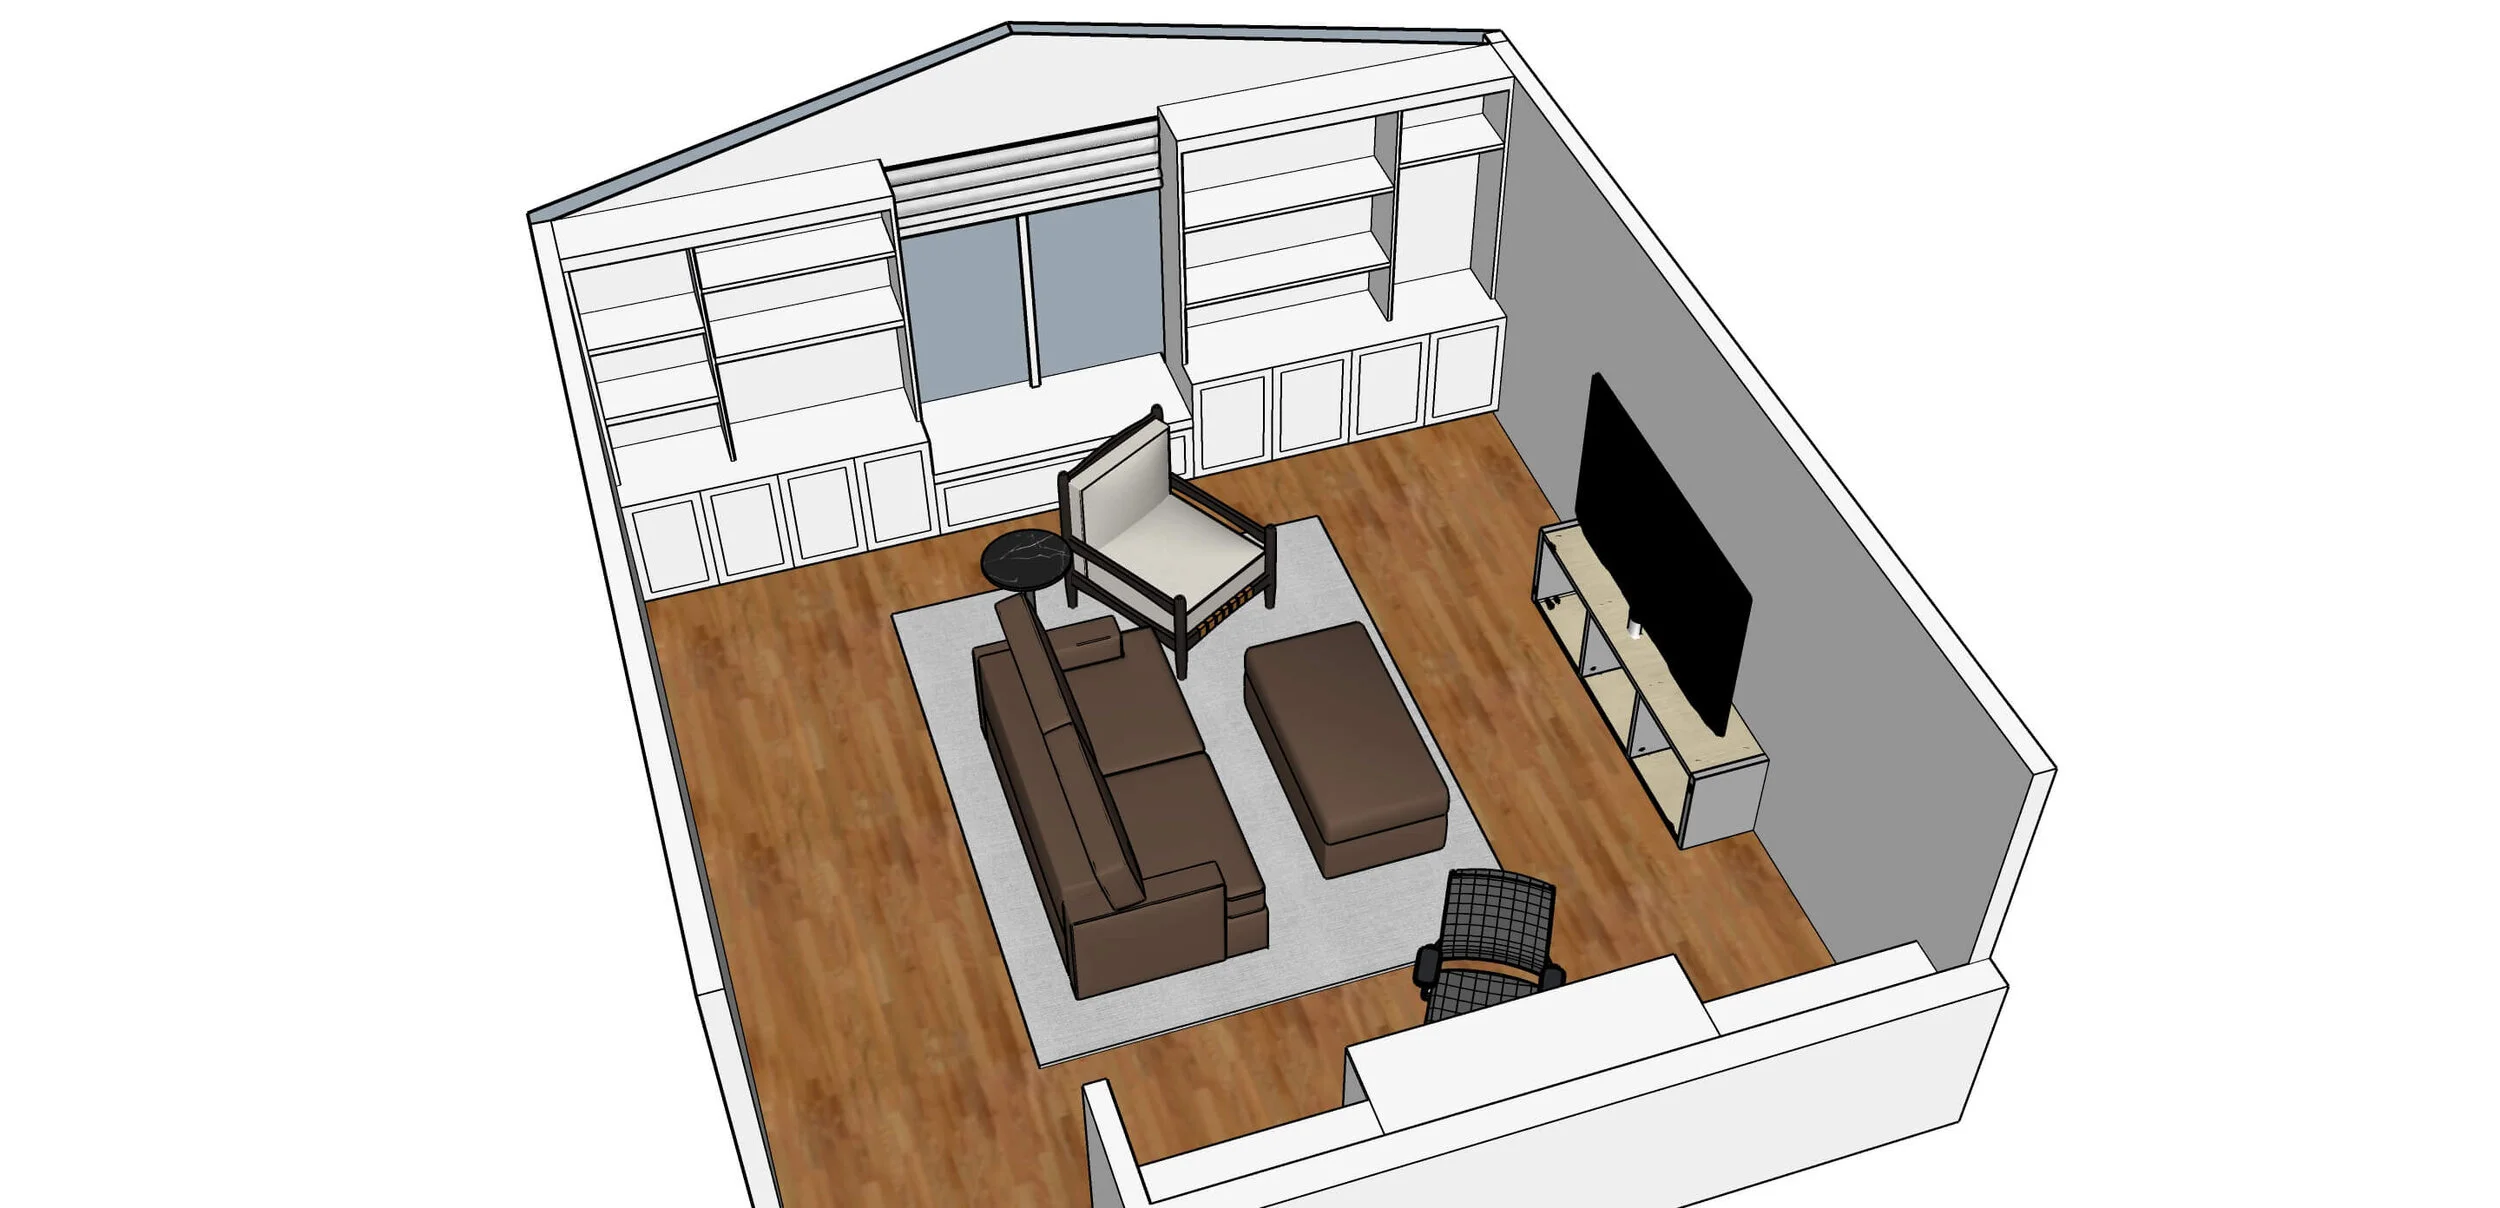
The large window in the background was calling for a window seat under it. And either side of the window would work nicely for bookshelves and deep storage cabinets and drawers.
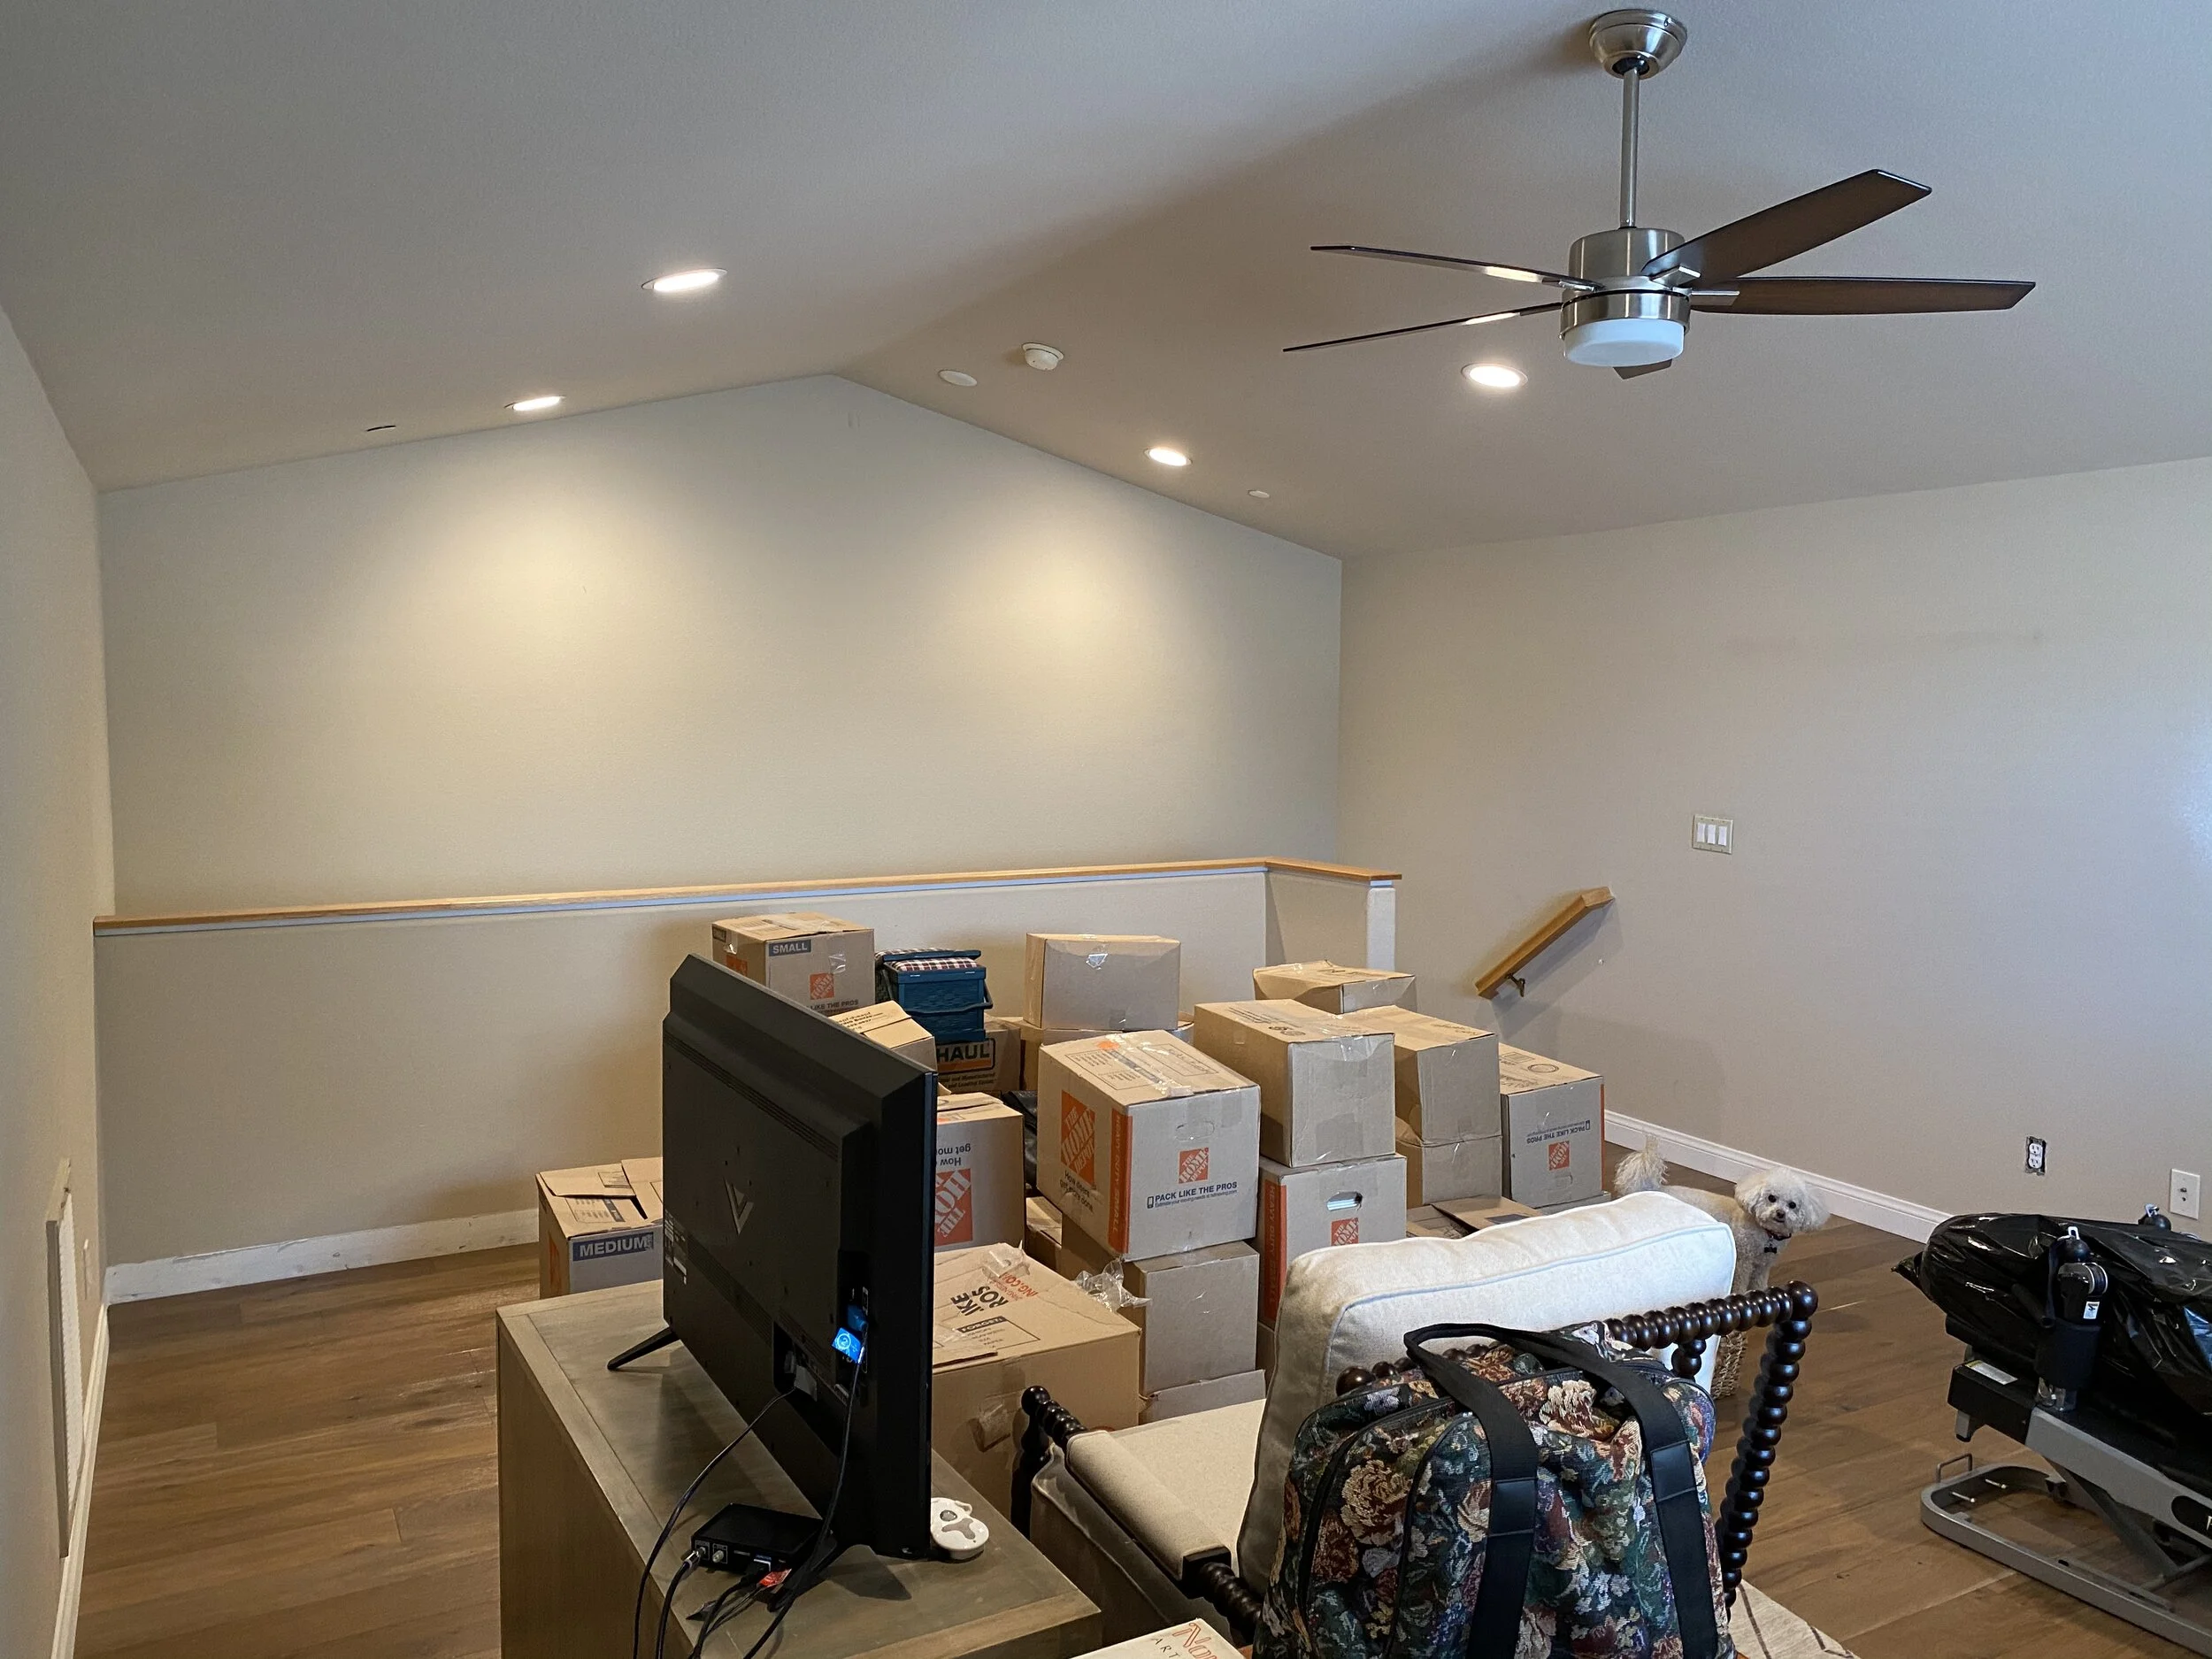
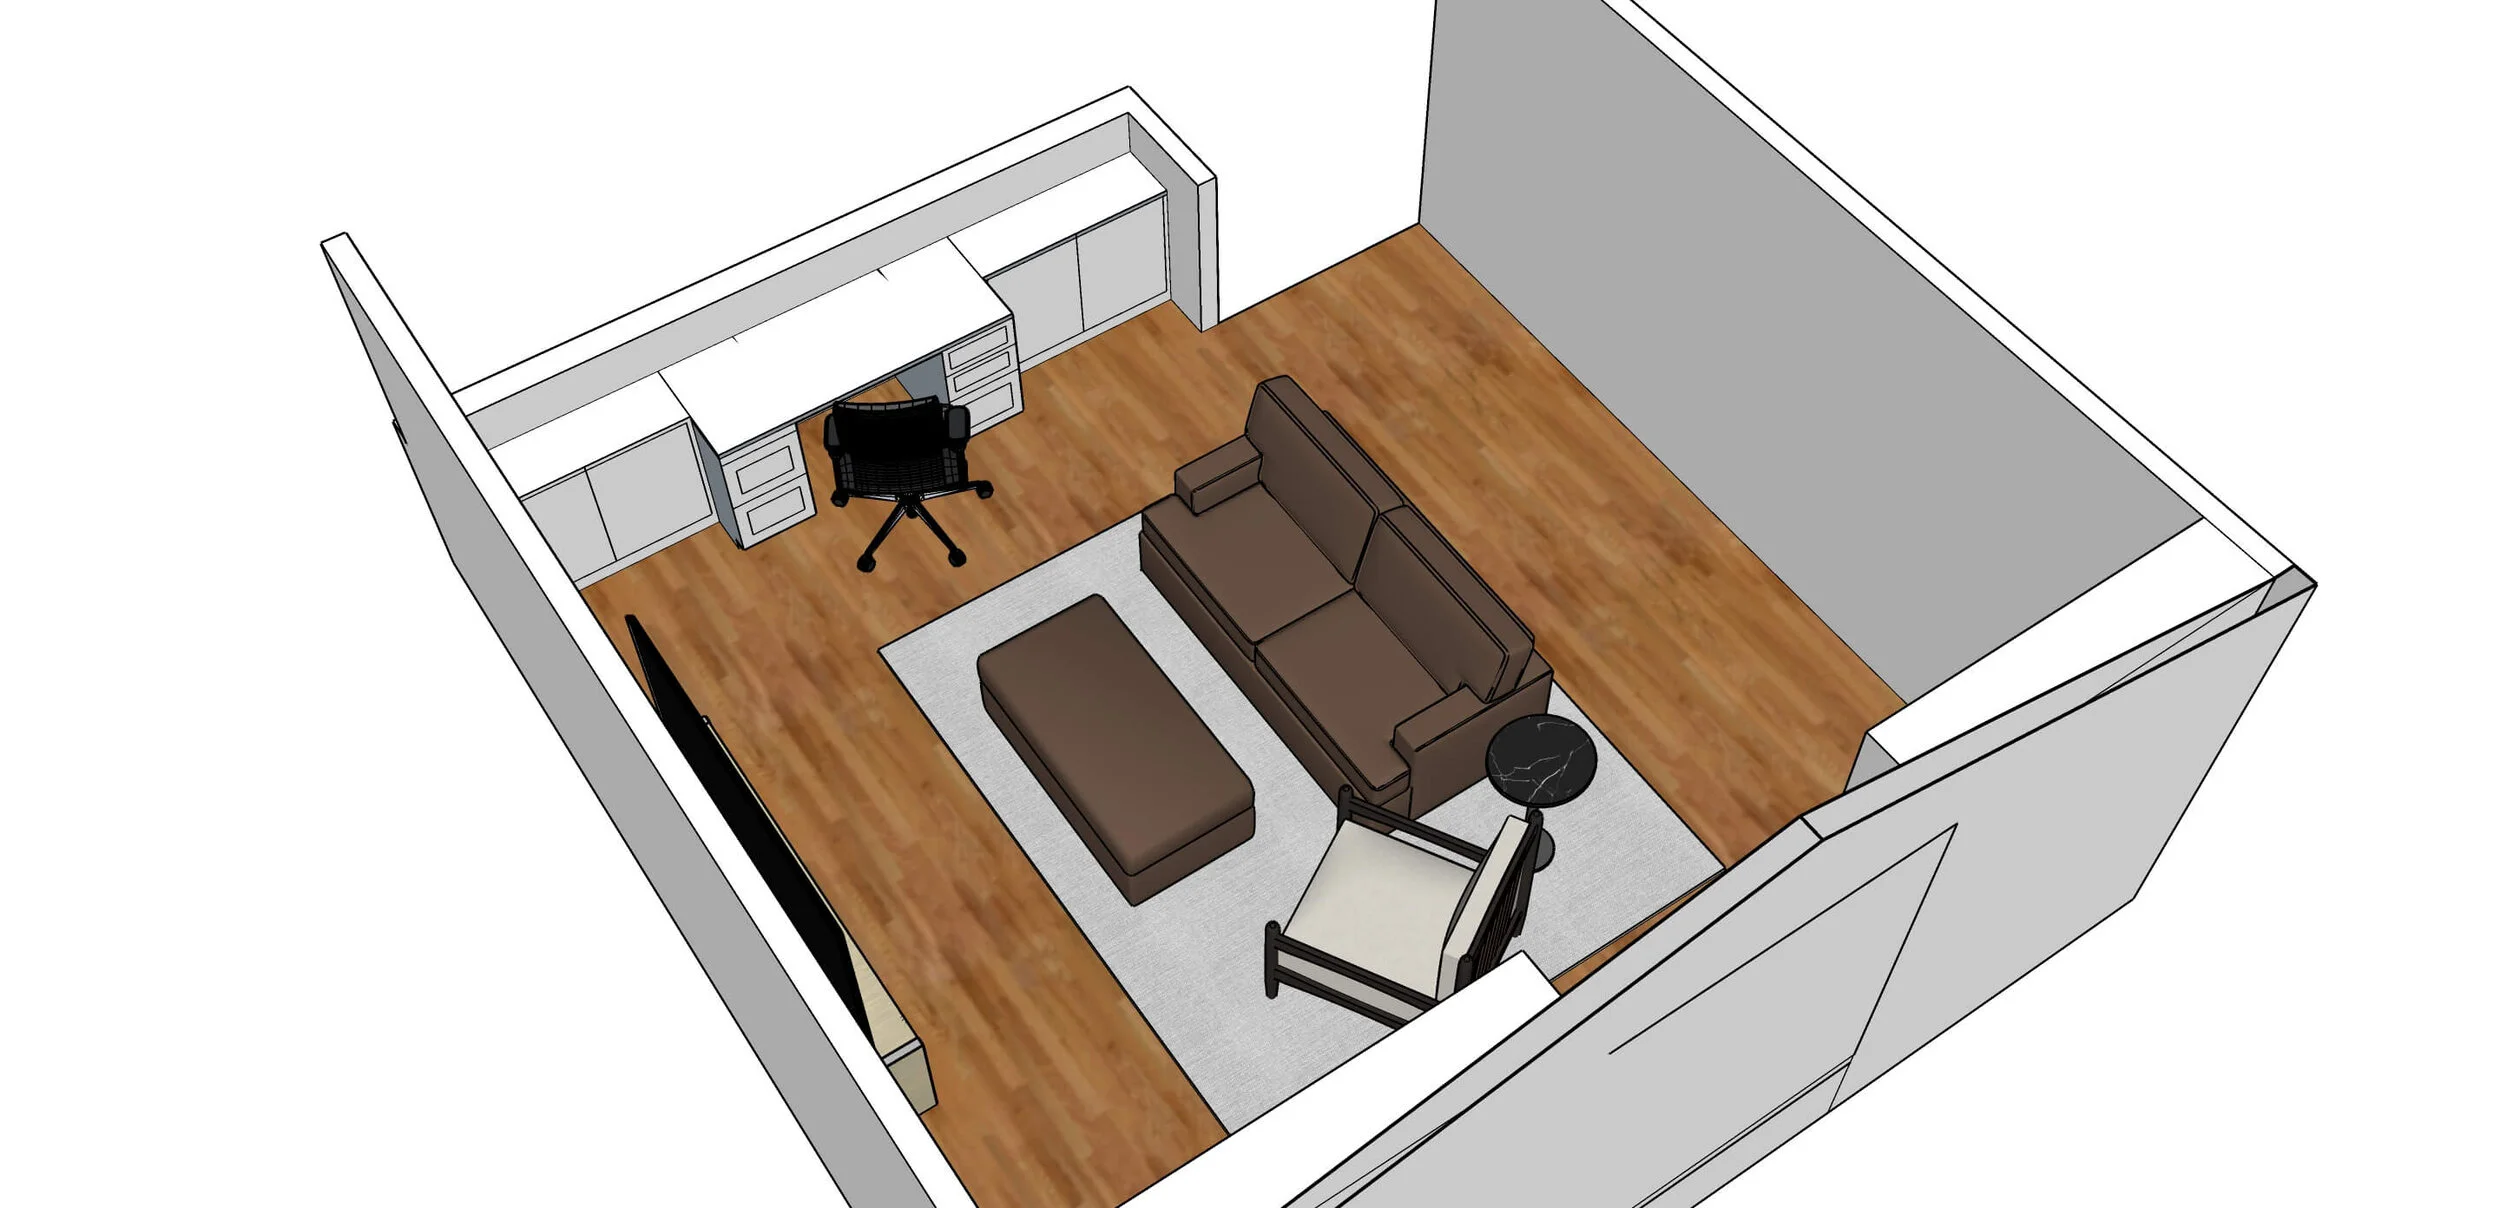
The pony wall is where I planned to build in my husband’s desk and more storage to either side of it would also work well. And we relocated the fan from downstairs to the loft because it was more contemporary than the rest of the house would be.
I was able to use some of the furniture I had from my old office space. It wasn’t quite the same style as what I was planning for the rest of the house, but I decided I was ok with it because this room is upstairs away from everything else and would be used mostly by the boys in my family. =0)
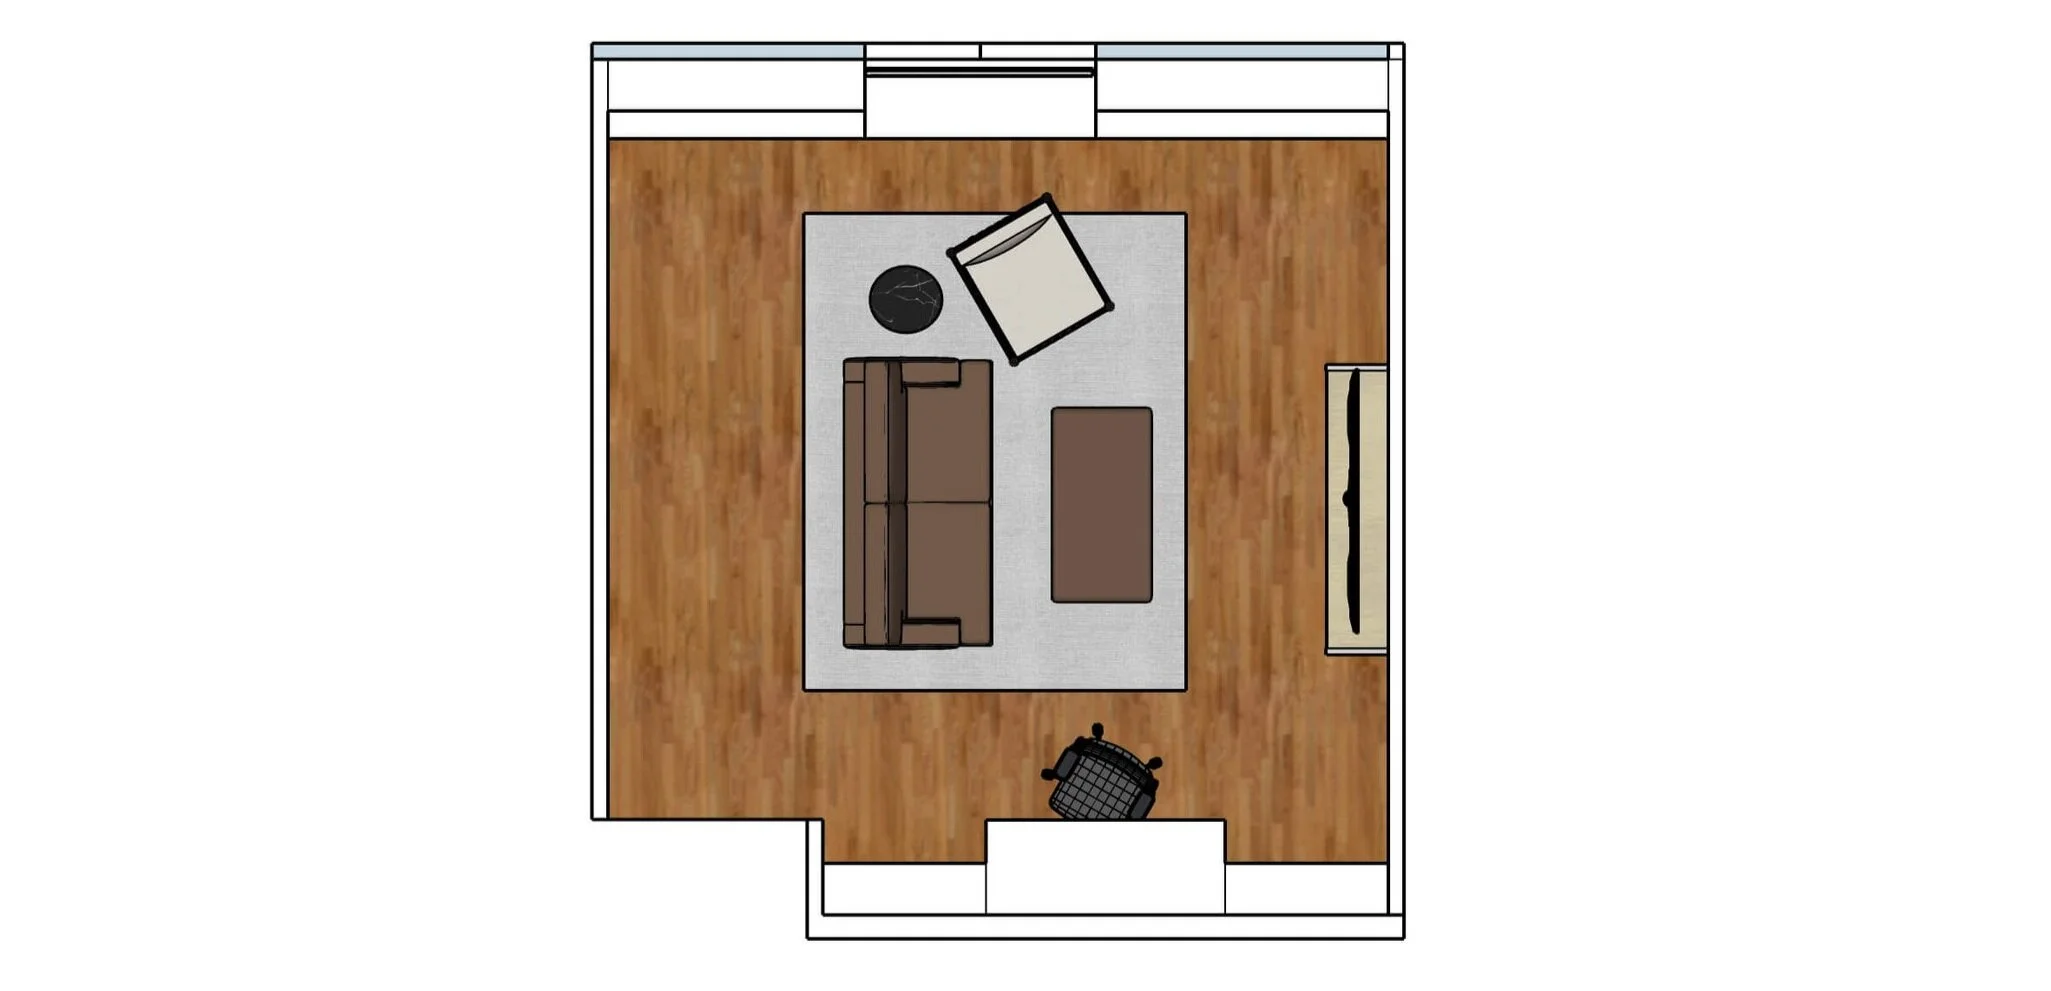
Here are my concept drawings for the built-ins again, in case you missed it in an earlier blog a while back.
I’m sure you can relate to this-- it took over 5 months to receive the sleeper sofa and ottoman! They were worth the wait in the end but what a year, right?
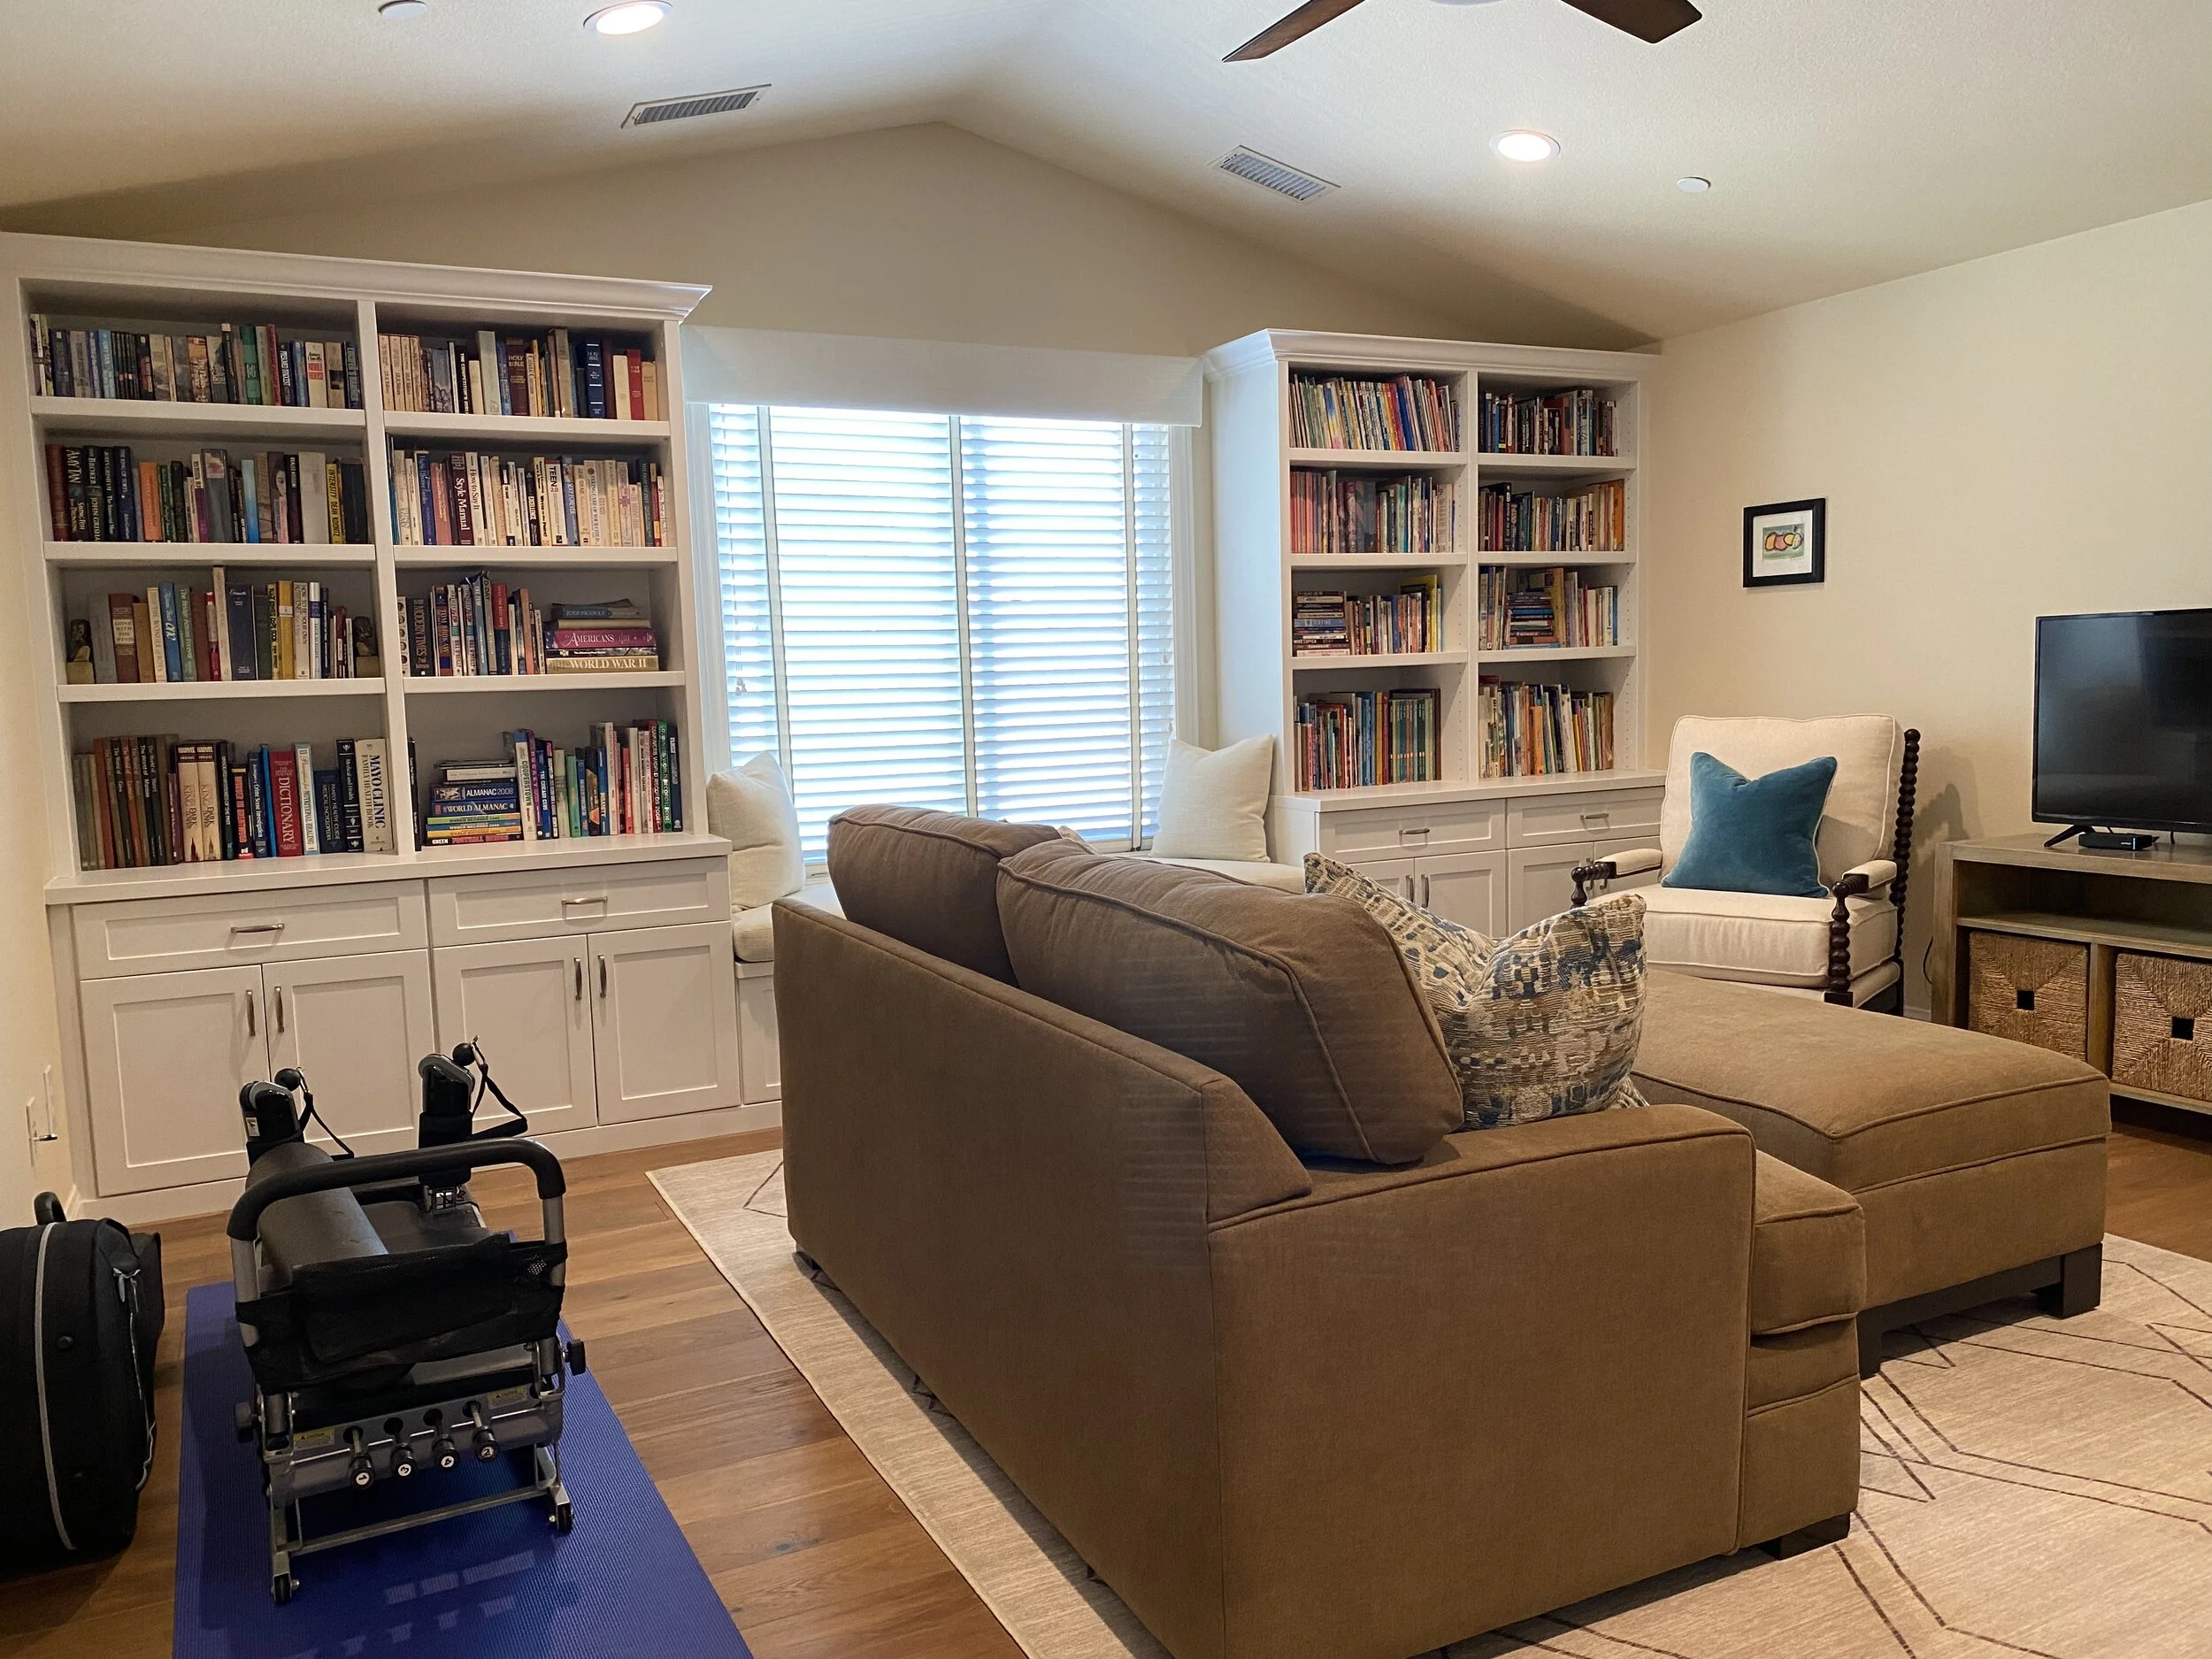
Now, we have an extra double bed for guests, a second entertainment center, a workspace, book, and photo album storage and even room for my Pilates machine!
Here are a few after photos. I still need to do a family photo collage on the large open wall behind the sofa but as you know, a decorator is never really finished, right?
(And as promised, I’ll share some tips for creating a multipurpose space at the end of this article.)


A Dozen tips for Creating a Multi-Purpose Room
Consider all the people who will use or visit your room. Do they have any special needs?
Ask yourself what activities you will do in this room. Reading, TV, Music, Hobbies, etc.
Plan the cabinet configuration by first thinking about what you need to store. Do you need file drawers? Storage for your hobbies, etc.?
If you can see this new room from other rooms in your home, make sure to coordinate your style and color palettes.
Use a storage ottoman instead of a cocktail table. This is also a soft place to set your feet if you’re going to be watching television here. (And, all of our bed linens fit nicely in ours.)
Use a tray or stack of books on the ottoman to provide a sturdier surface for food or drinks.
The ottoman can swing to the side when the bed is pulled out, so it doubles as a nightstand.
Use baskets and/or free-standing units to hide small things like gym equipment or the motor for your sleeper sofa’s air mattress, for instance.
An air mattress in your sleeper sofa is more comfortable both to sleep on and to sit on when folded into the sofa. It’s worth the upgrade if you can swing it.
If you have an opportunity, add a cushion and toss pillows in the window seat for added comfort and additional seating.
Use your own hardware for your built-ins instead of what the cabinet company may provide for a custom look.

12. Bella likes the new room too. We split her toys into two baskets so it’s like Christmas when she’s up there.
That’s it for now. Thanks for following along and I’ll be back next week!
Ready to learn more? Now you’ll find tons of eGuides and Interior Design Courses in the DIY Out!