Before & After Series: Theatre Room
A while back, I wrote about our client’s great-room and how the floor had settled 4” from one corner to the other. Do you remember? Here’s a link if you’d like to read about it. Today however, we’ll look at the new theatre room we also created in the same home.
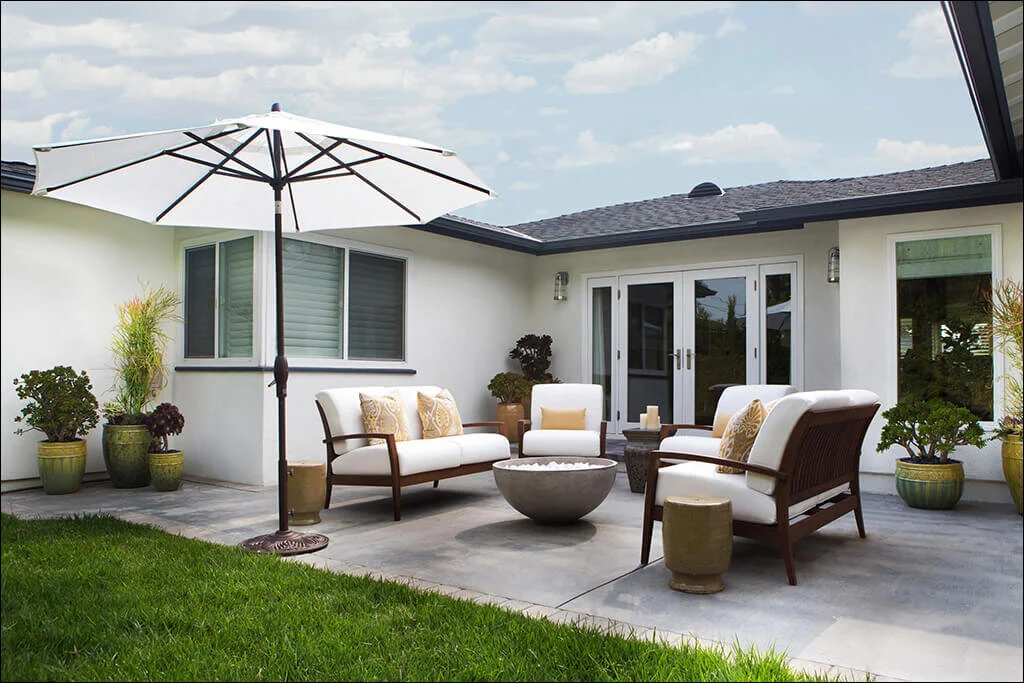
The first challenge was the fact that this separate room was raised about 3-1/2 feet off the patio and the only access was out the back sliding door, to the patio and up the steps to the room. This was not great because not only was the access not covered, there was no railing on the narrow landing and this was extremely dangerous.
Here are some photos of the patio and the room before we got underway.
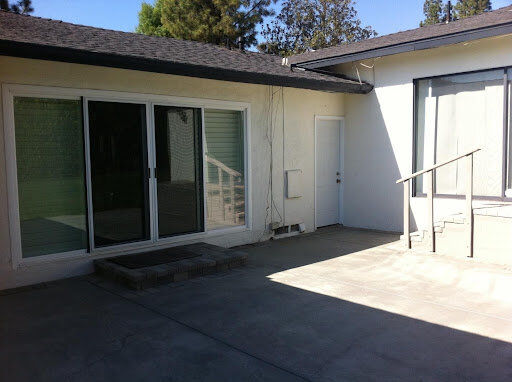
Sliding door to living area. Unattached entrance to spare room planned for the new theatre room.
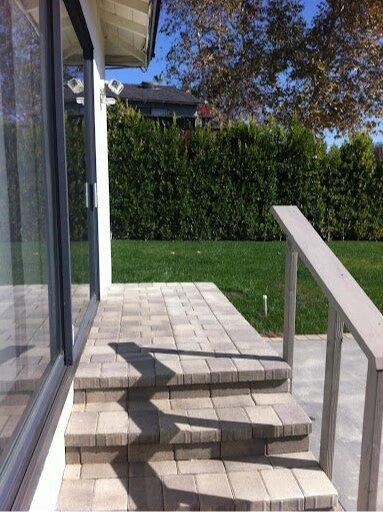
Narrow landing to enter the media room. The only access was from outside the house and most of it had no railing.
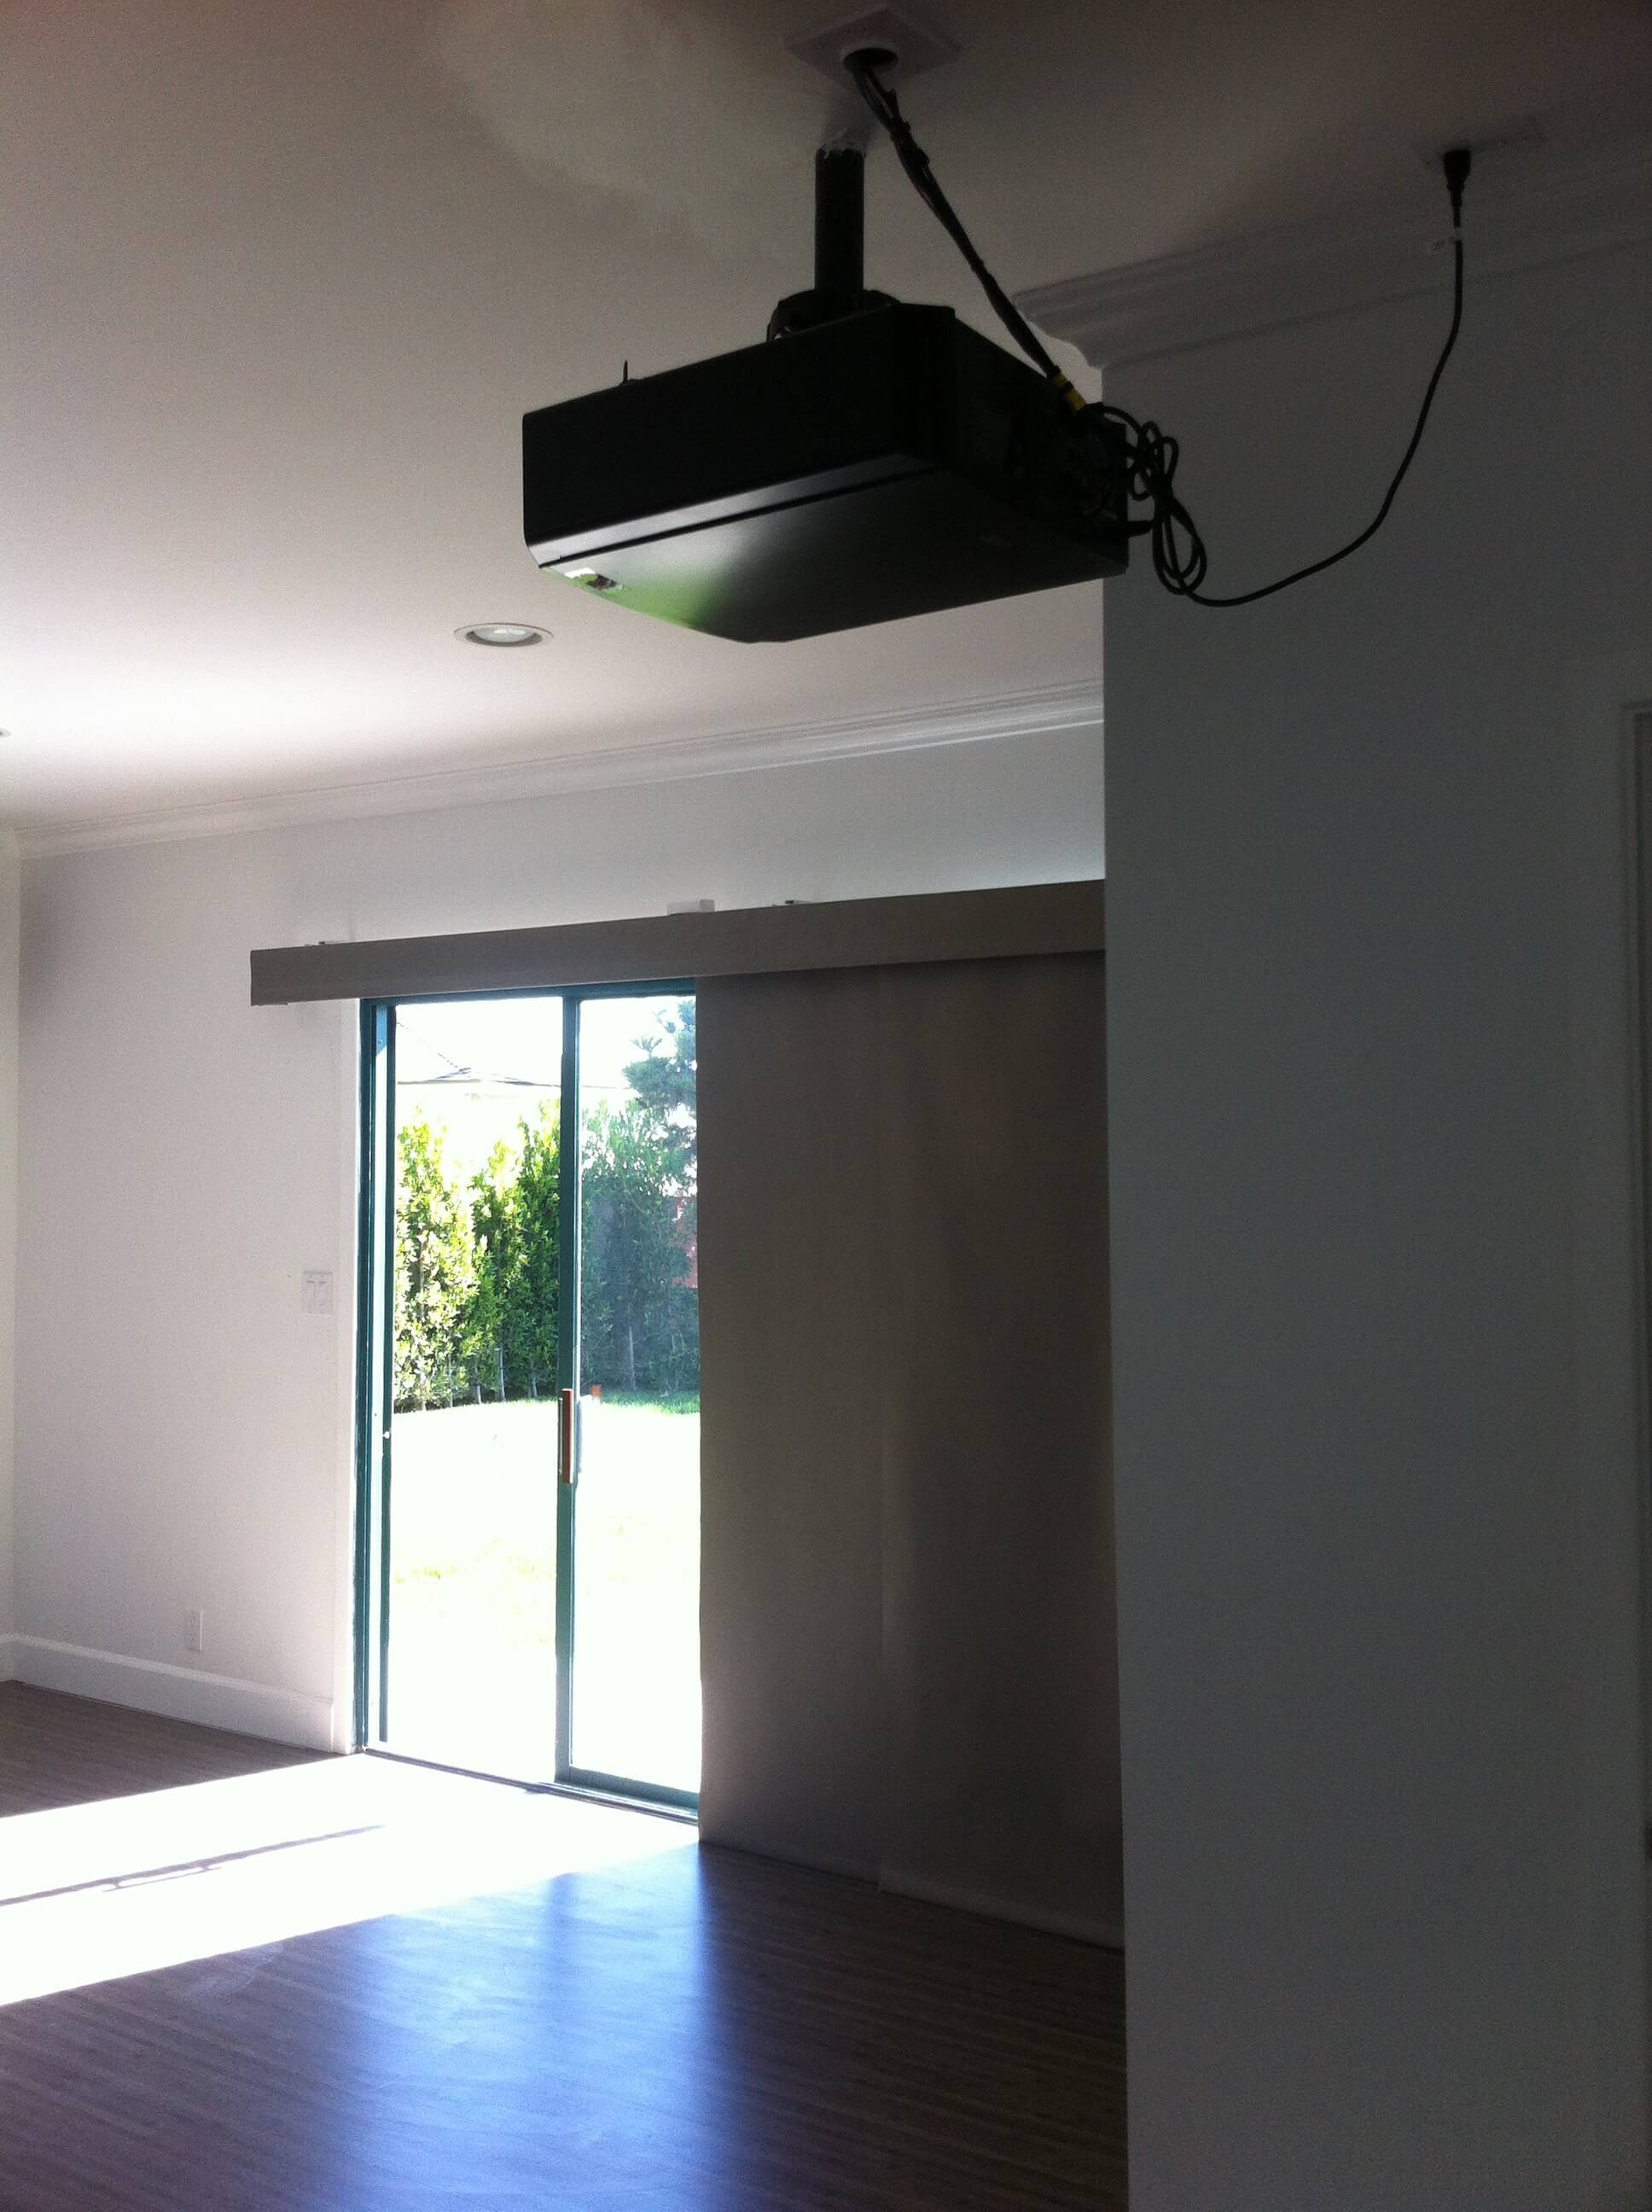
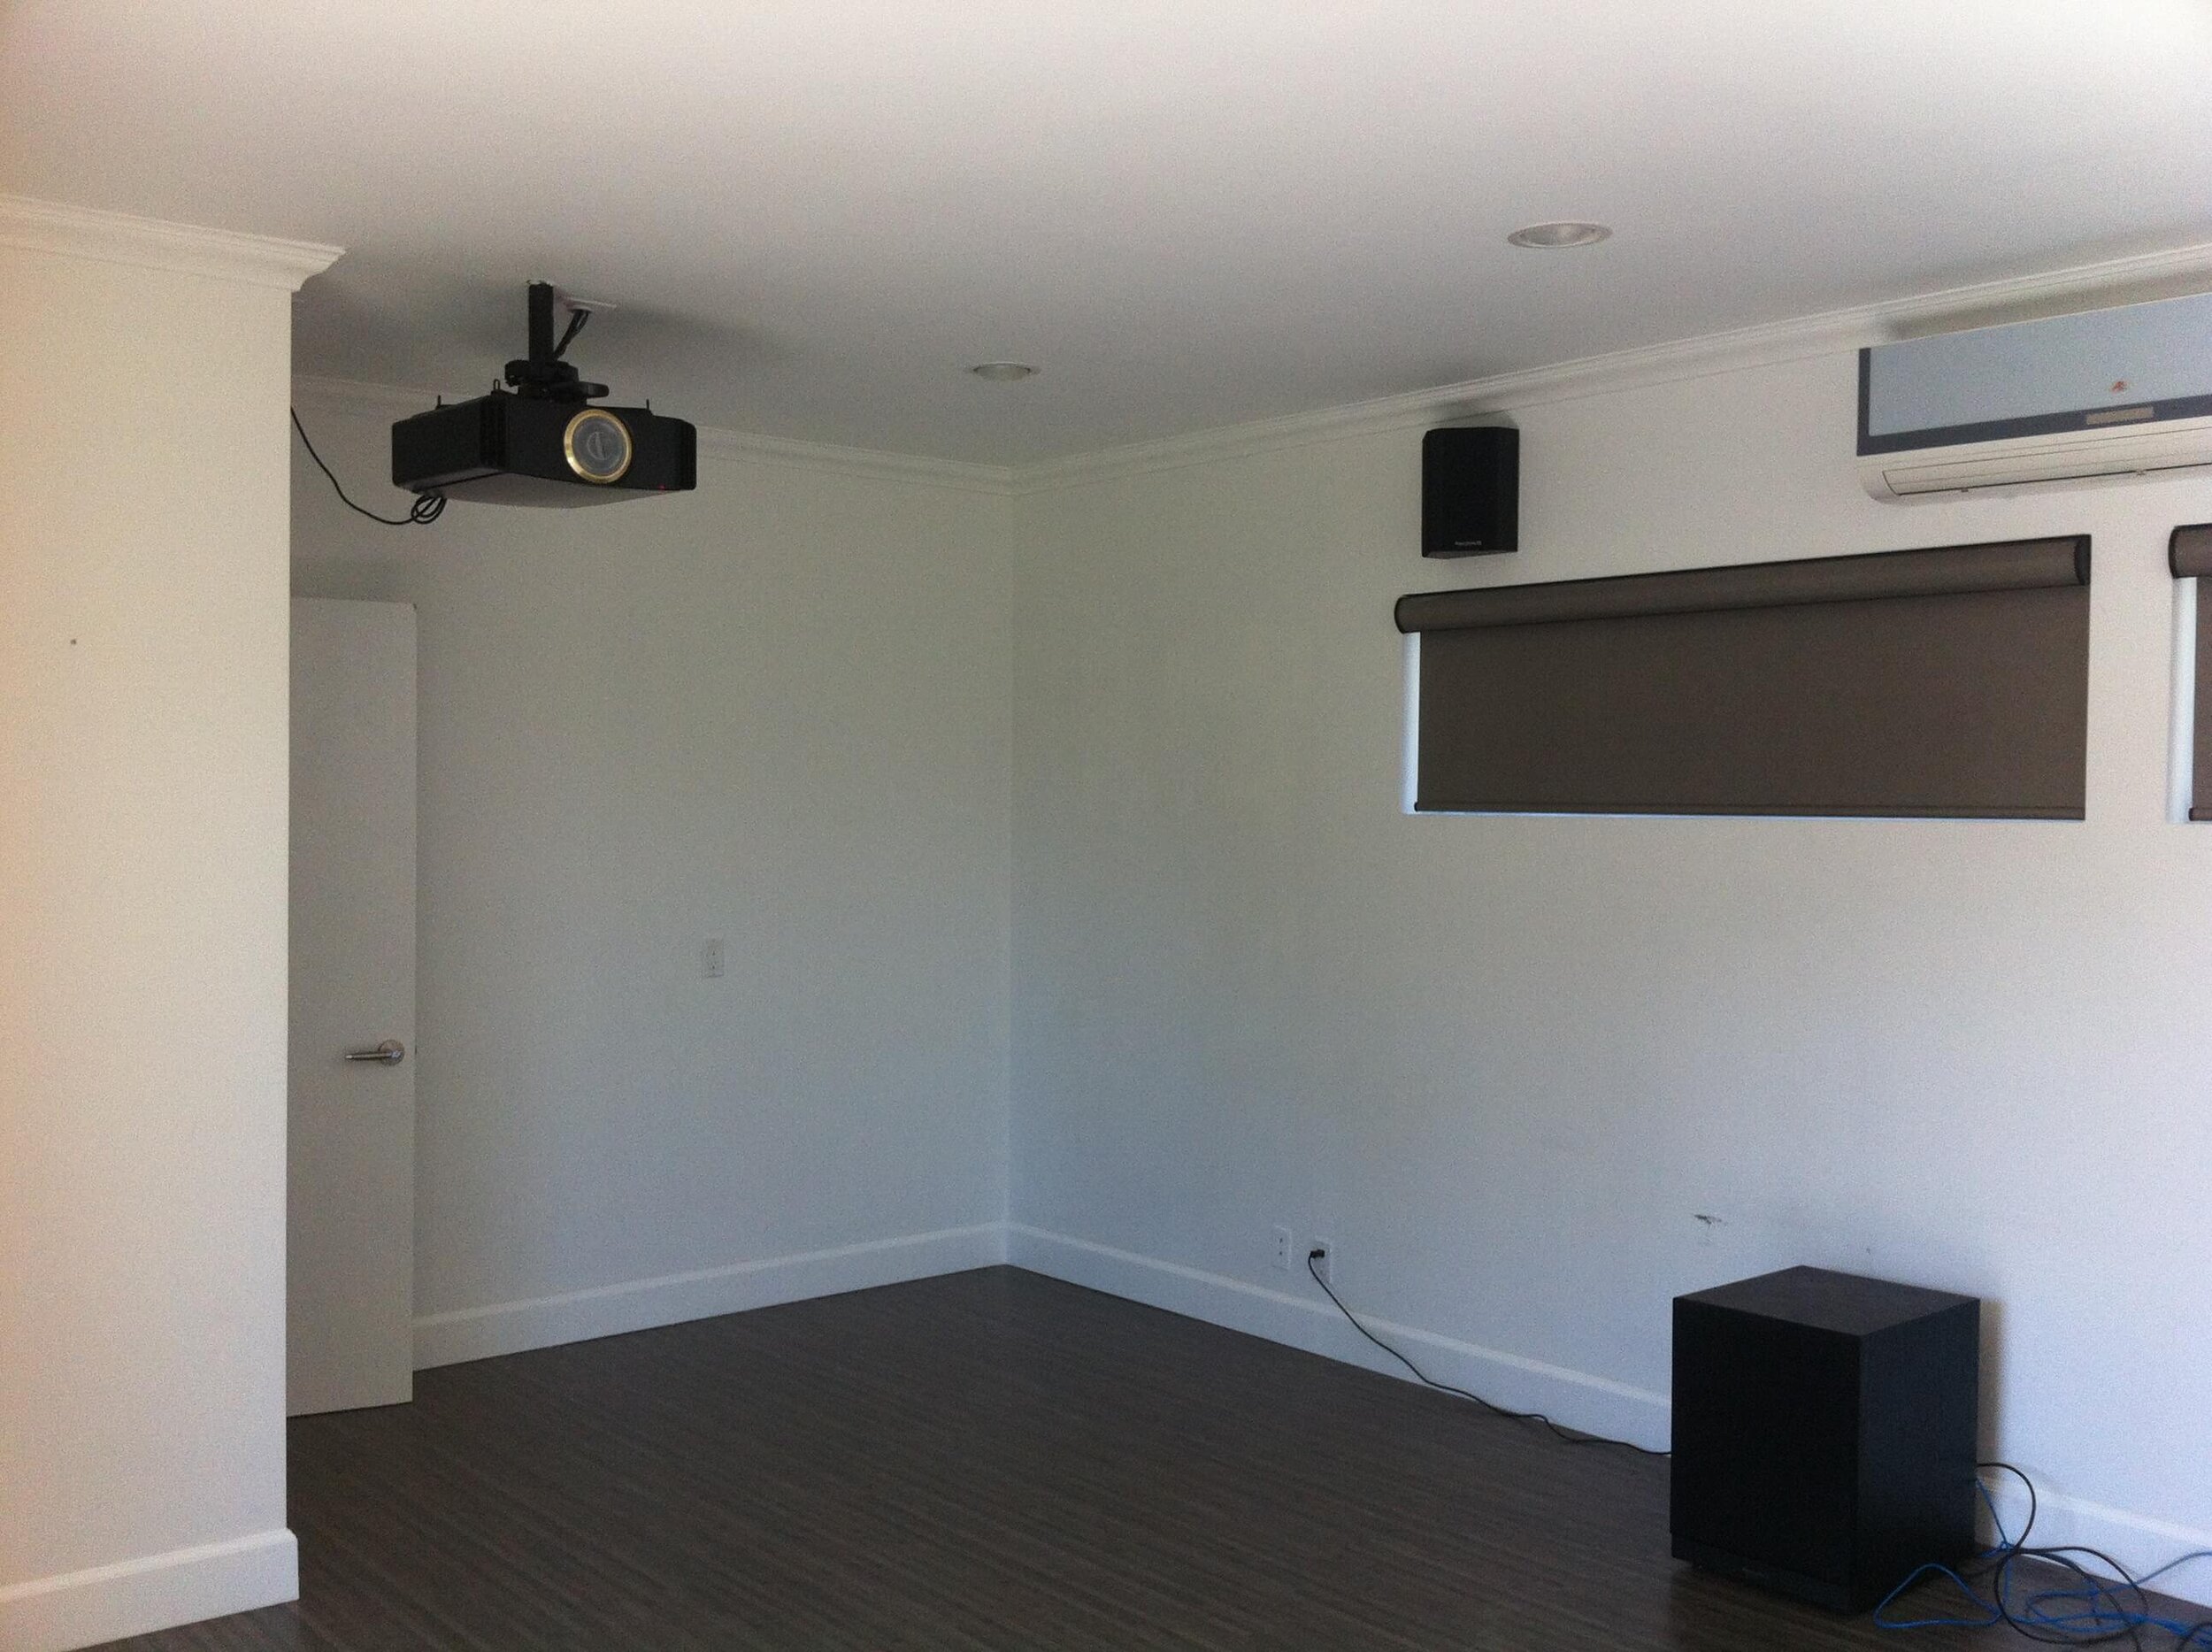
Here is the media room looking out to the patio and yard.
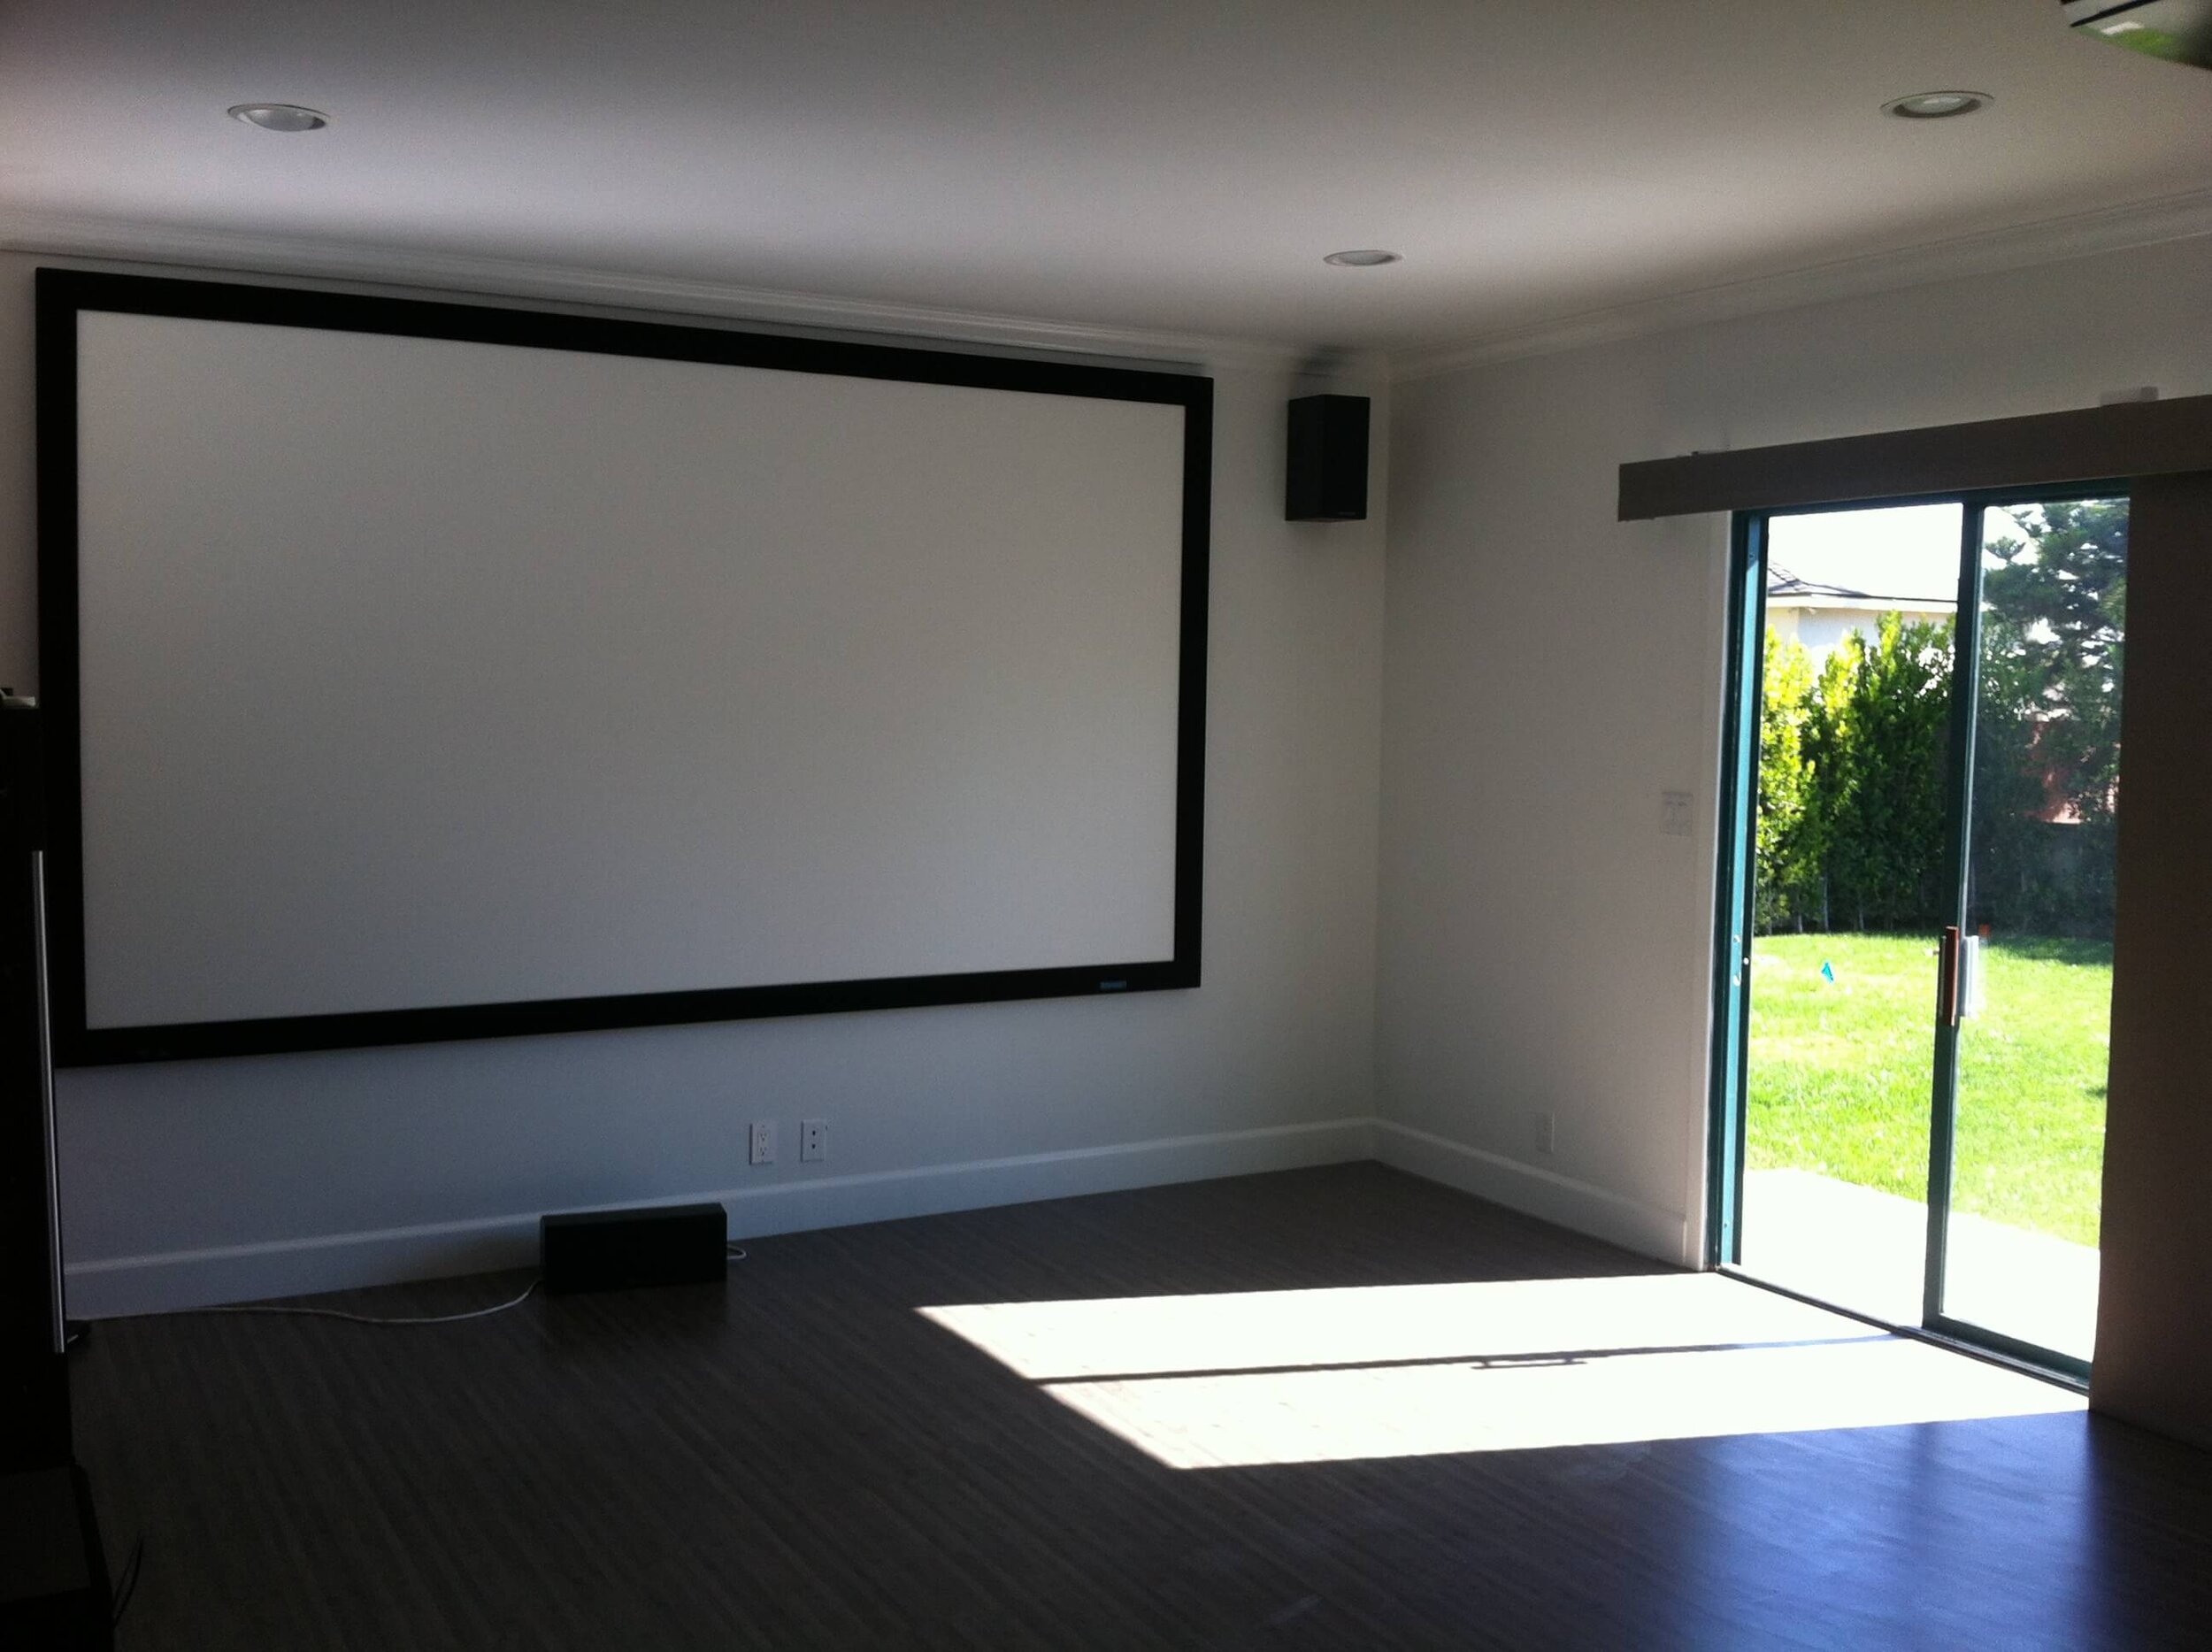
Our client already owned the media equipment needed which included the tower, a large screen, a projector and speakers and all of this equipment needed to remain in its existing position.
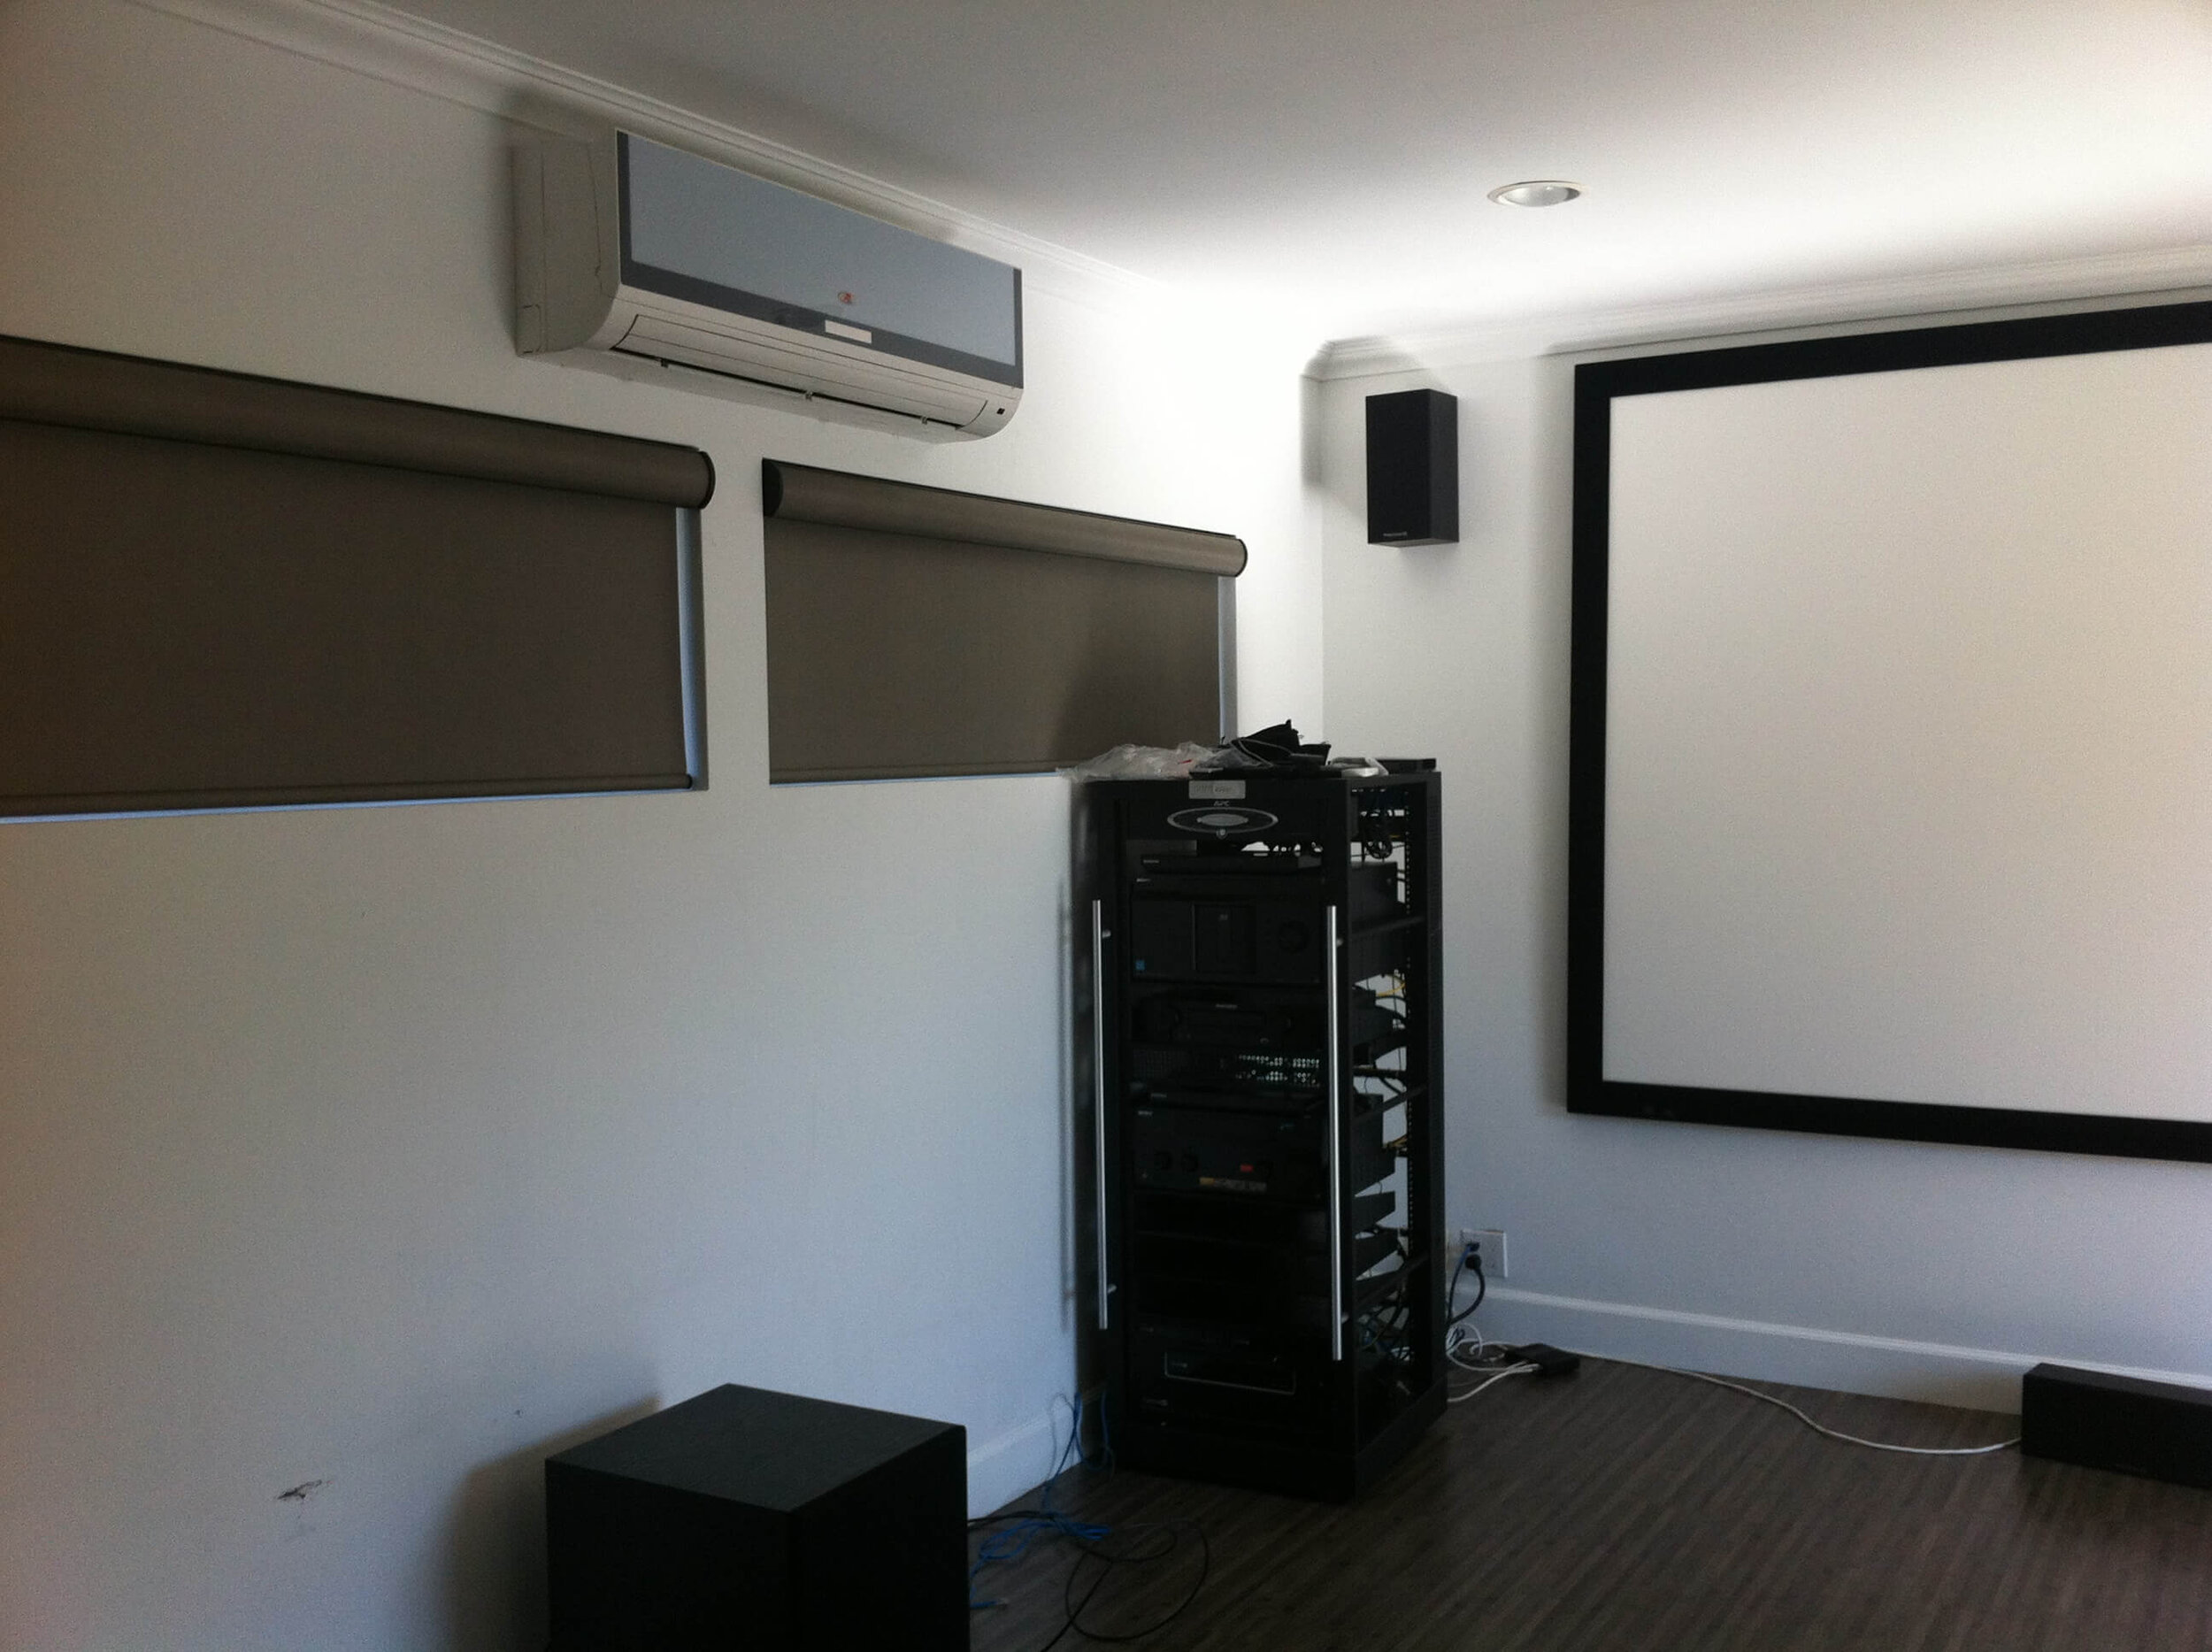
Short, high windows needed better light control. The central HVAC system from the house needed to be brought out to this room for added comfort and noise reduction. The wall unit would be removed.
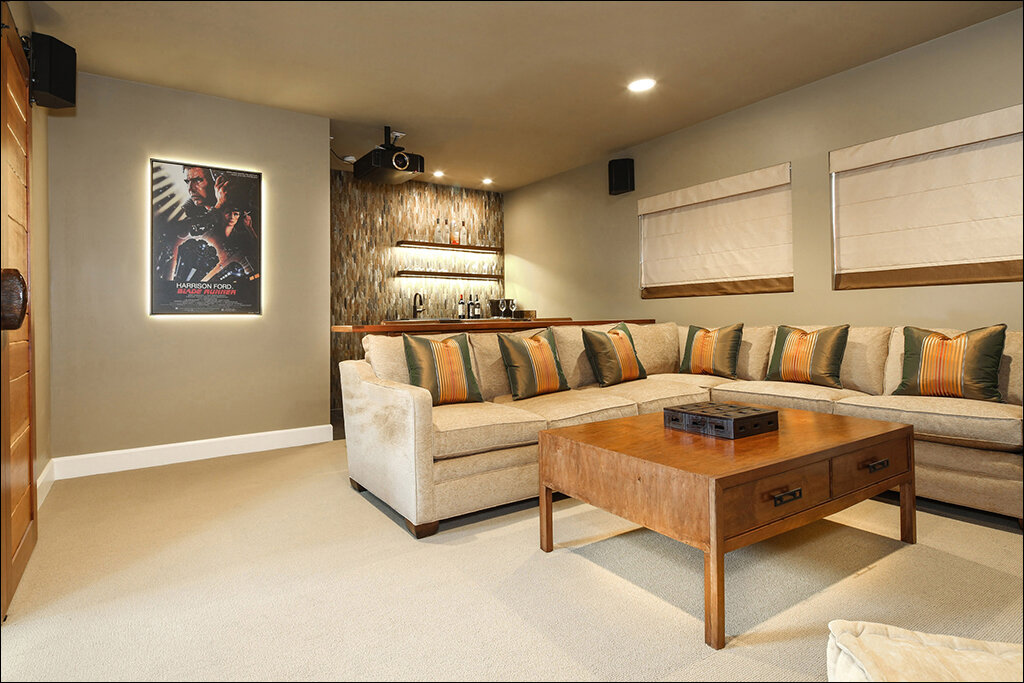
We saw an opportunity in the back of the room for a bar and additional seating. There was also a half bath where you see the door on the left. Fortunately, it had been upgraded with suitable materials so we could work them in with the new main room materials.

The sliding door would be removed because we were planning to enclose the landing and steps to give the room access from the house. An architect was hired to join our team to make the changes to the room’s wall configuration and HVAC system.
Once we understood the needs of our client for the new theatre room, we set to work on a space plan and other details.
Here’s the space plan and surrounding walls to show how we connected the spaces. We found our client would be able to comfortably entertain 11 people.

Here are the New Design Elements We Added:
Carpet for added sound control and comfort.
A dark color palette including olive green, orange, and gold to enhance the feeling of a theatre.
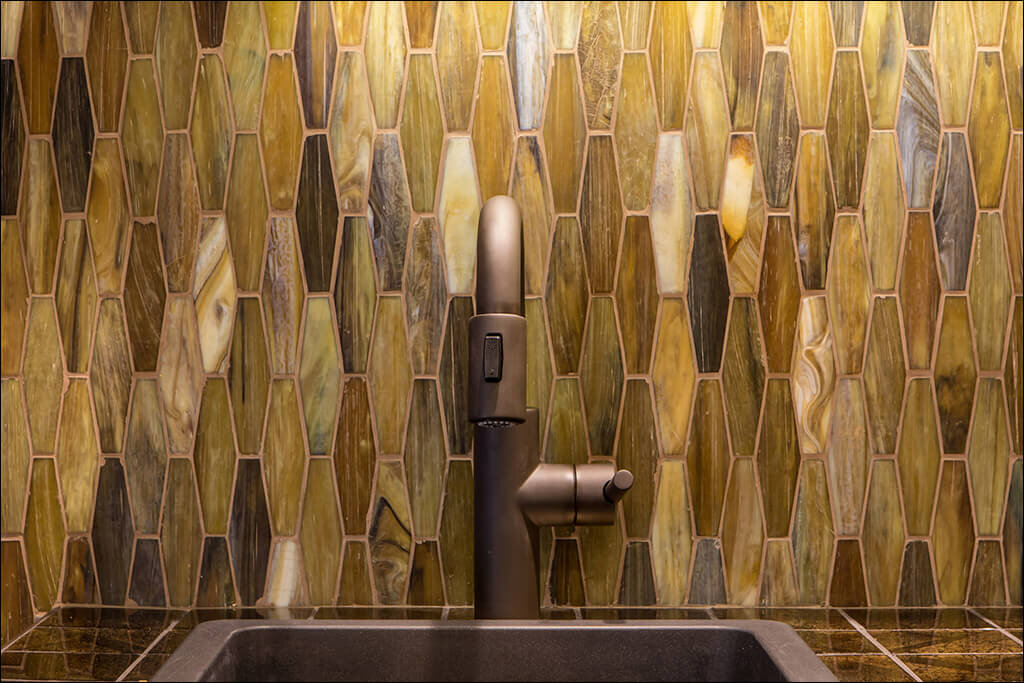
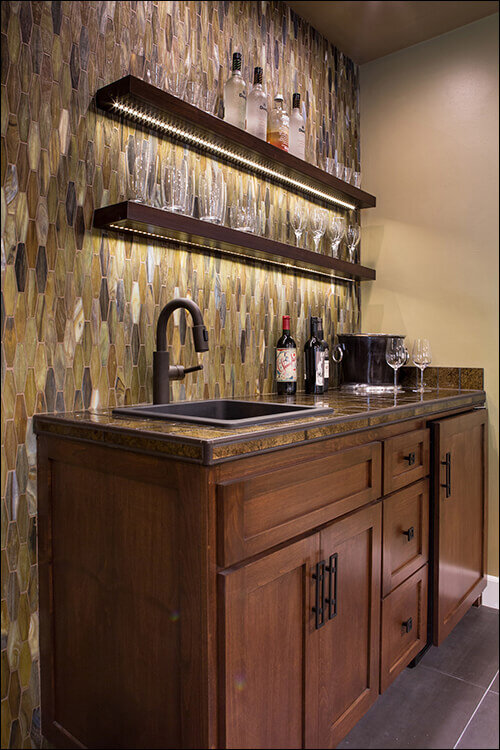
Tile for the bar area floor to help with spills.
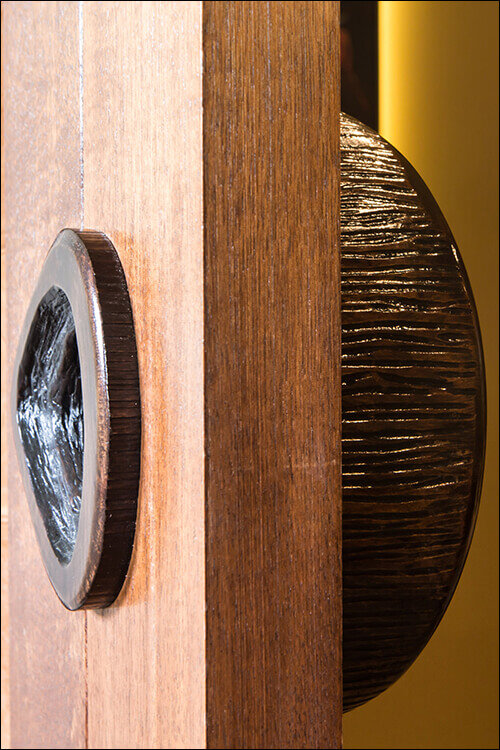
A beautiful set of custom-built barn doors for the new hallway outside the room. Hand carved the handles made these doors very special. Oh my gosh, they were gorgeous.
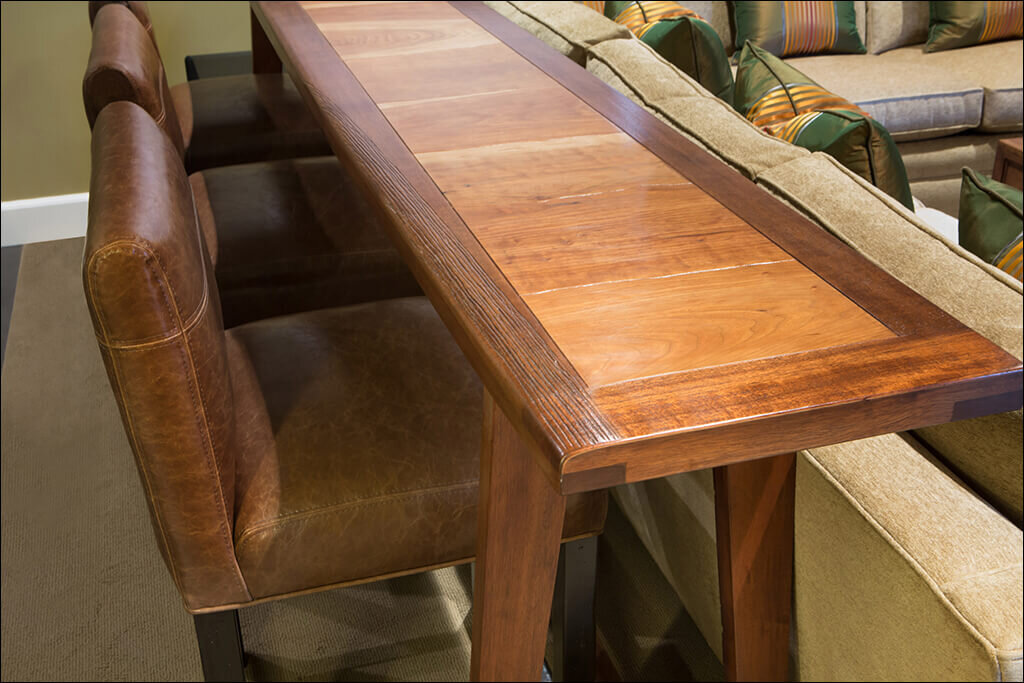
A custom built bar table that sits behind the sofa. It too, is hand carved.
Extra wide, leather upholstered custom bar stools made by our favorite upholstery shop to ensure comfort while sitting through a full-length film.
Black-out Roman Shades for the windows to block light and help with sound reduction.
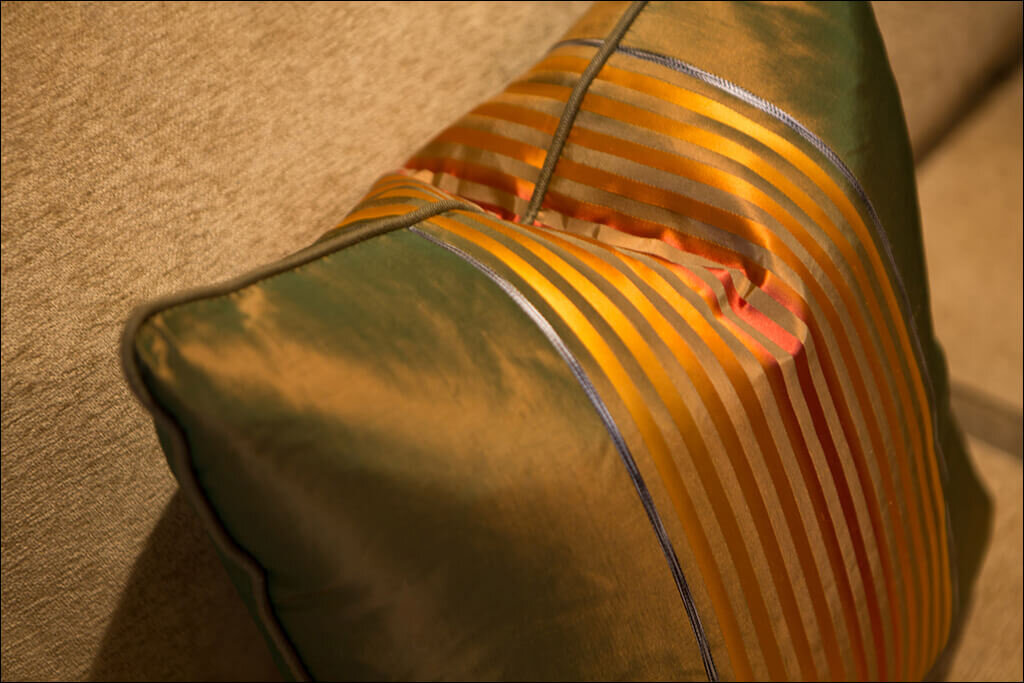
A large sectional with lots of toss pillows to act as sofa arms in-between guests.
Floor pillows for extra guests.
Heavy upholstery fabric for both comfort and noise reduction.
Backlit movie posters to add to the viewer experience.
A custom-built bar with shelves above on which to hang barware.
Strips of LED tape lighting below the shelves to further the dark theatre effect.
A cocktail table with drawers to accommodate overnight guests as well as napkins, utensils, etc. for entertaining.
Fabric to cover the ugly media tower =0) Velcro allowed easy access.
Here are the after photos. I hope you enjoy them!

Join our newsletter below to be sure you don’t miss any updates and tips on designing your own space!