How to Arrange Art on Your Wall
Does your room make you a little bit dizzy? Is it hard to concentrate on what you’re seeing?

It is probably due to the fact that there is no place for your eye to “rest and think”. When you fill every available wall space and surface, you are causing visual overload. And your brain just can’t process what it’s seeing. It just wants to keep looking in circles to take it all in. In this lesson, I’ll offer some ways to slow things down.
Here are 3 tips for arranging art on a wall.
1. Use The Wall’s Shape to Guide You
First, start with the entire wall space you are considering for your artwork. Is it a rectangle? A square? Is the shape long or tall? This will be important when you start to arrange your pieces. You’ll want to arrange your artwork in a group that mimics this same wall shape. In other words, if the wall area above your sofa is a horizontal rectangle, try to arrange the artwork in a horizontal rectangle within the wall space. Also, leave plenty of space or margin around the outside edges of the grouping. This is the resting place for your eye.

2. Group Like Items Together
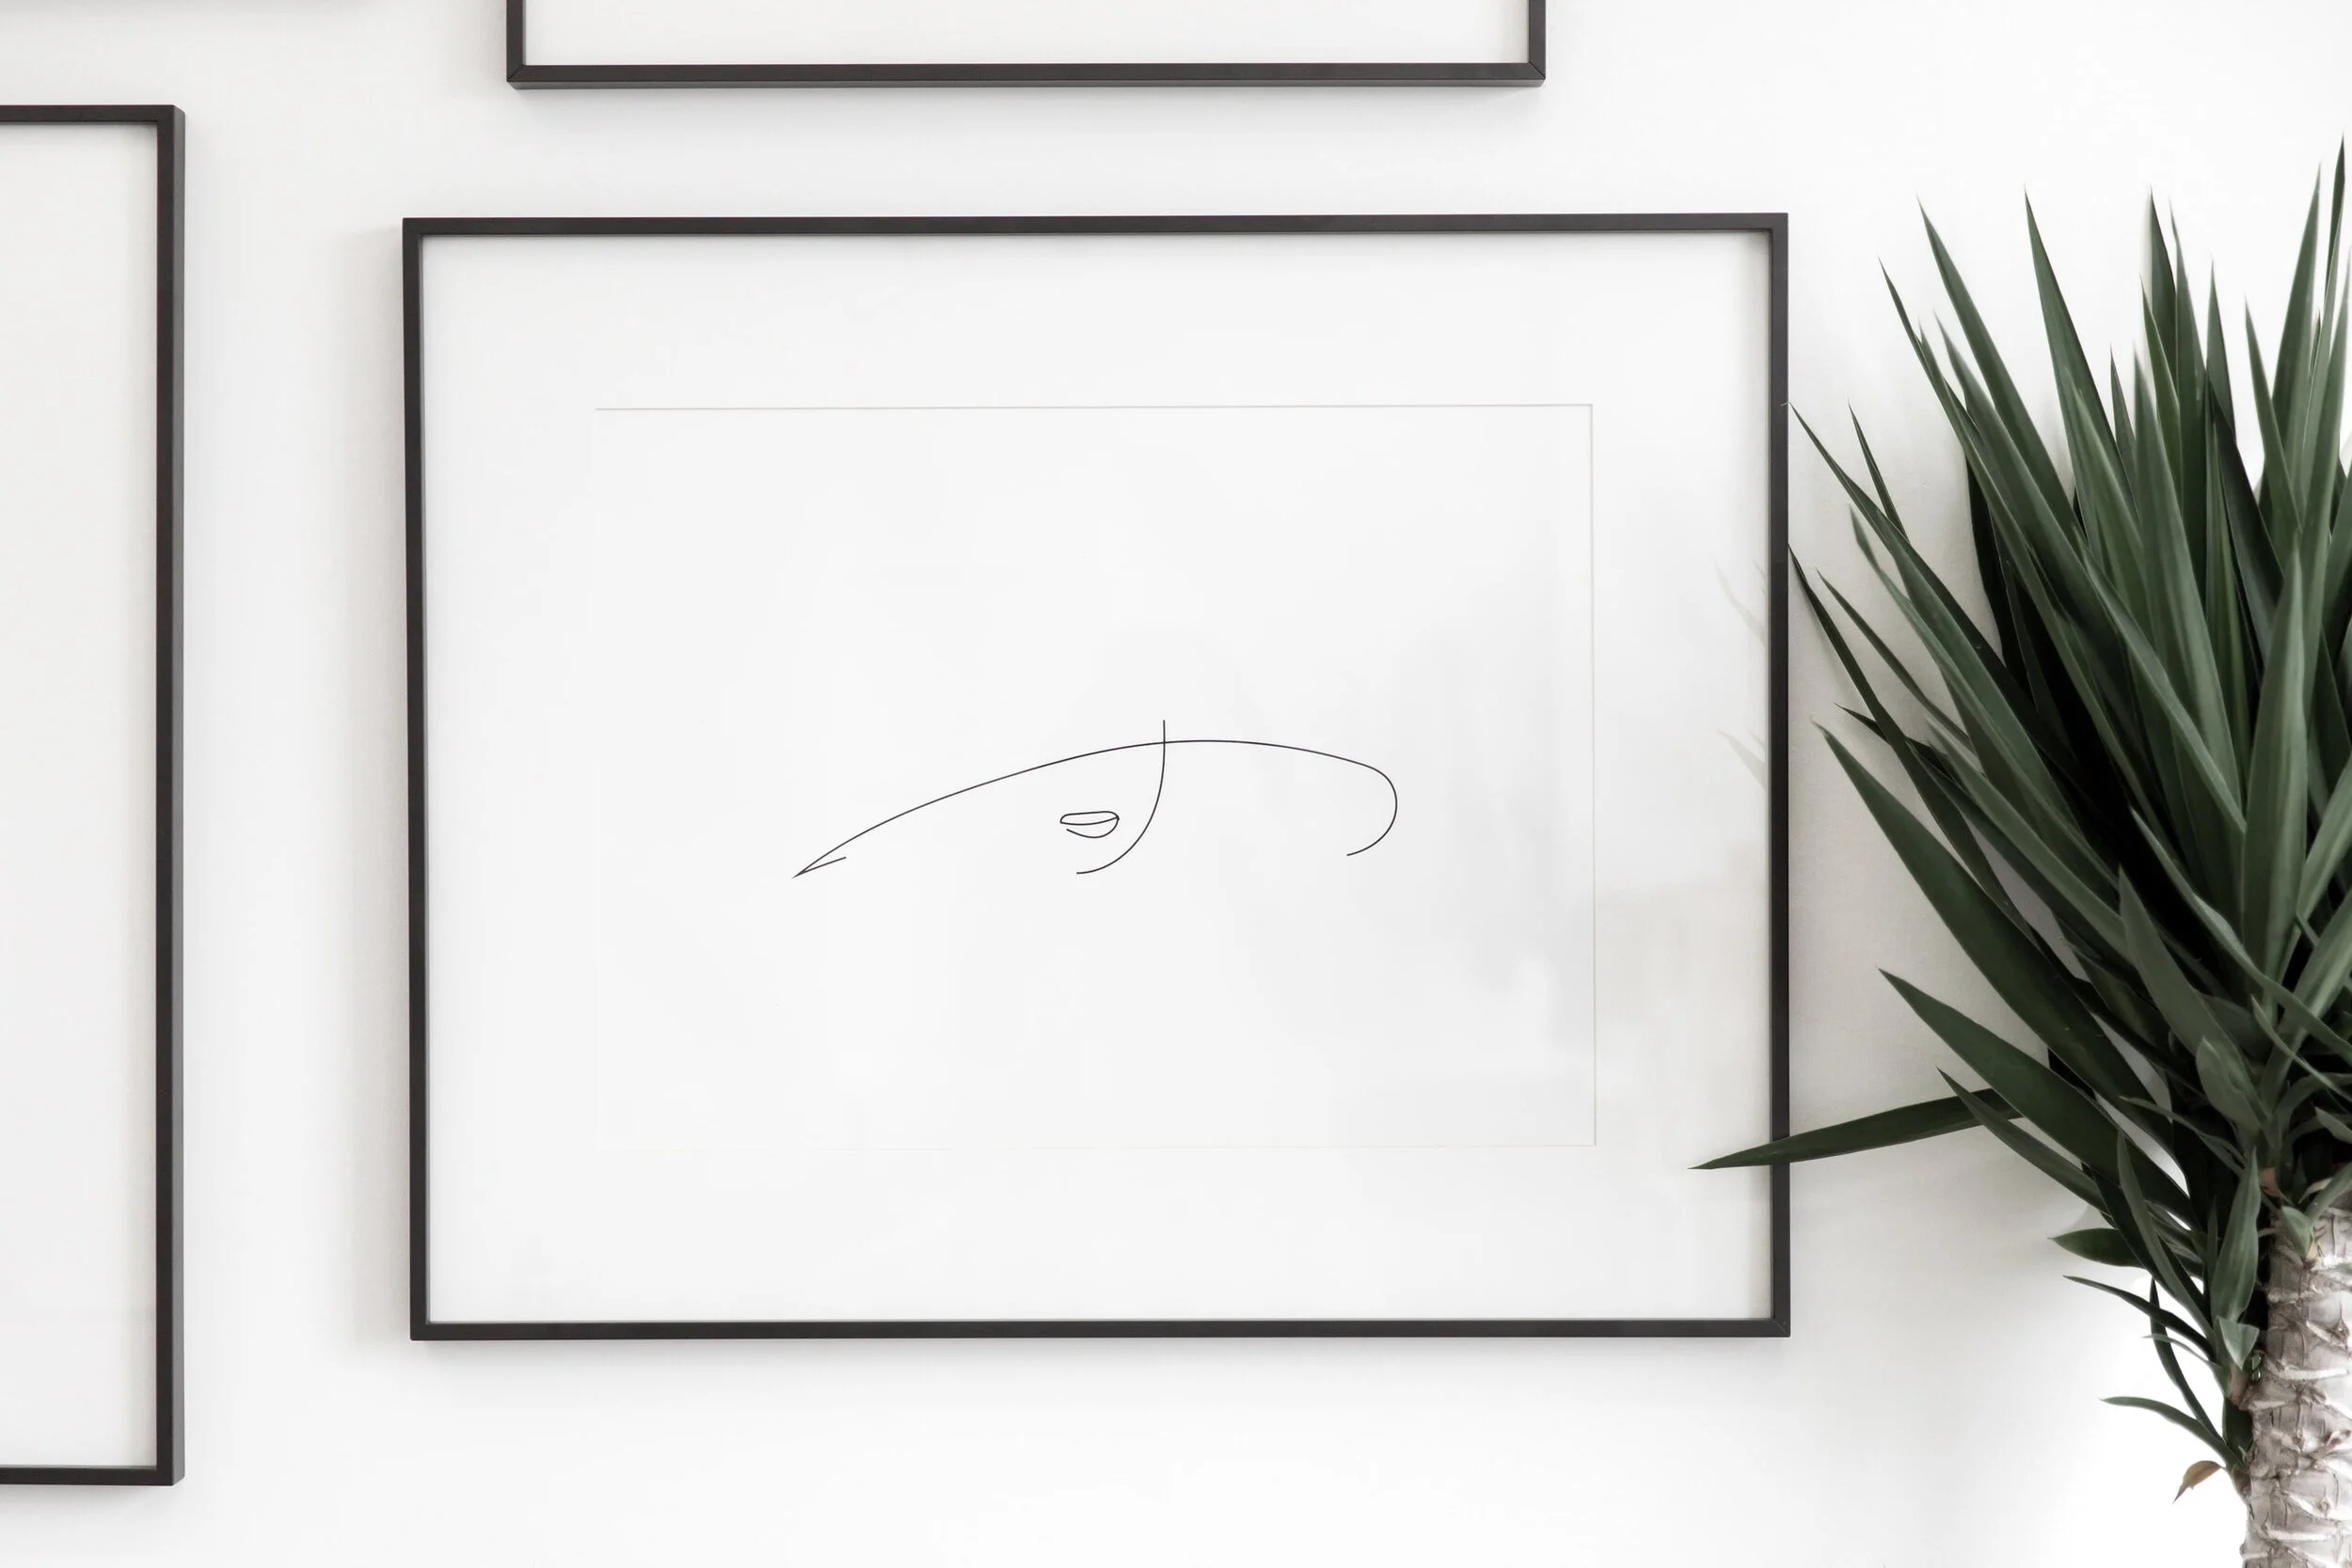
Next, try to group the pieces you want to hang so that they have a cohesiveness or theme. Perhaps you have three paintings with a landscape subject. Or maybe the frames around the pieces are the same or similar. Find similarities within your pieces and group them this way. Back in a previous lesson of this mini-series, I talked about odd numbers? Remember to group your artwork in odd numbers too.
3. Map It Out Before You Start Hammering Away
This next step takes extra effort on your part but in the long run, will save you having to patch and paint the walls if you make a mistake. Map out your arrangement first. Cut poster board in the sizes of the pieces and tape them up. This makes them easy to move around and experiment with. You can also just use the blue painter’s tape instead.
For more tips on accessorizing, download the e-Guide called Baker's Dozen: Rules for Accessorizing Your Home You can find more on our home page where the FREE stuff is. =0)
