Selecting the Perfect Flooring For Your Home (Part 2)


In part 2 of this series, we’ll talk about the configuration, installation and maintenance of your new flooring.
Tile Layouts
Most tiles are either rectangular or square and can be configured in an infinite number of layouts. There are a couple of pitfalls you’ll want to avoid when planning your layout.
The first has to do with the size and shape of your room. Try to avoid too many small cuts (less than full pieces) within the room. If you have a small room, a 24” x 24” tile may not be the best option. Consider how many full pieces you can get and then what space will be left over for the cut pieces.
Here’s an example of what I mean. This bath is fairly large and the tub, vanity and toilet are fairly symmetrical and help to minimize the number of partial cuts. A smaller tile would also be appropriate in this room.
Here’s a great guide on tile patterns from Porcelanosa


Trim Pieces
Be sure to inquire about the types of trim pieces available for the material you select. You may have some exposed unfinished edges and corners to conceal. If a coordinating tile is not available, consider a product from Schulter which answers a myriad of solutions as well.
Grout
I like to recommend choosing a grout color that falls somewhere in the middle of the color range of that particular tile. This is so that the grout is minimized and doesn’t take center stage within the floor.
That being said, if you want the group to stand out, go with something lighter, darker or even a different color than the tile.


Tile Edges
Be sure to ask about the way a tile is manufactured in terms of its edge. Is it a sharp or precise edge? Is it beveled? With a precise edge, the tiles will fit much more tightly together, leaving very little grout showing. A beveled edge on the other hand is going to widen the gap between tiles and the group will be more prominent.
Centering on Door
Keeping site lines in mind will result in a room that feels more balanced. Use the entry door to your room to help guide your decision on where to start your materials. Centering on the door is always best. Then work out from there. We’ll use the example from above to demonstrate this idea. You’ll see in the bottom portion of the room, an opening. Notice the first 24 x 24 tile is centered on the doorway.
Which Direction to Run the Material
If your material isn’t a square shape, you’ll need to decide which way to run it.
Here are two examples of tile. The room is identical and neither option is wrong. Do consider what is outside of the doorway. Is it the same material? Which way is it running? While a threshold is an opportunity to change direction, it isn’t always necessary. So, map it out and think how you’ll feel while standing there.


Wood, Tile, and Vinyl Plank Layouts
Wood, tile, and vinyl all come in plank formats. Much of the time, they are made to look like wood. It’s fun to be creative in the layouts of these materials.
Note-For wood flooring, I recommend that you run the material away from the front door as opposed to perpendicular. This will help to lead the eye into the room. You can change direction anywhere you need to at the interior doorways wherever needed.
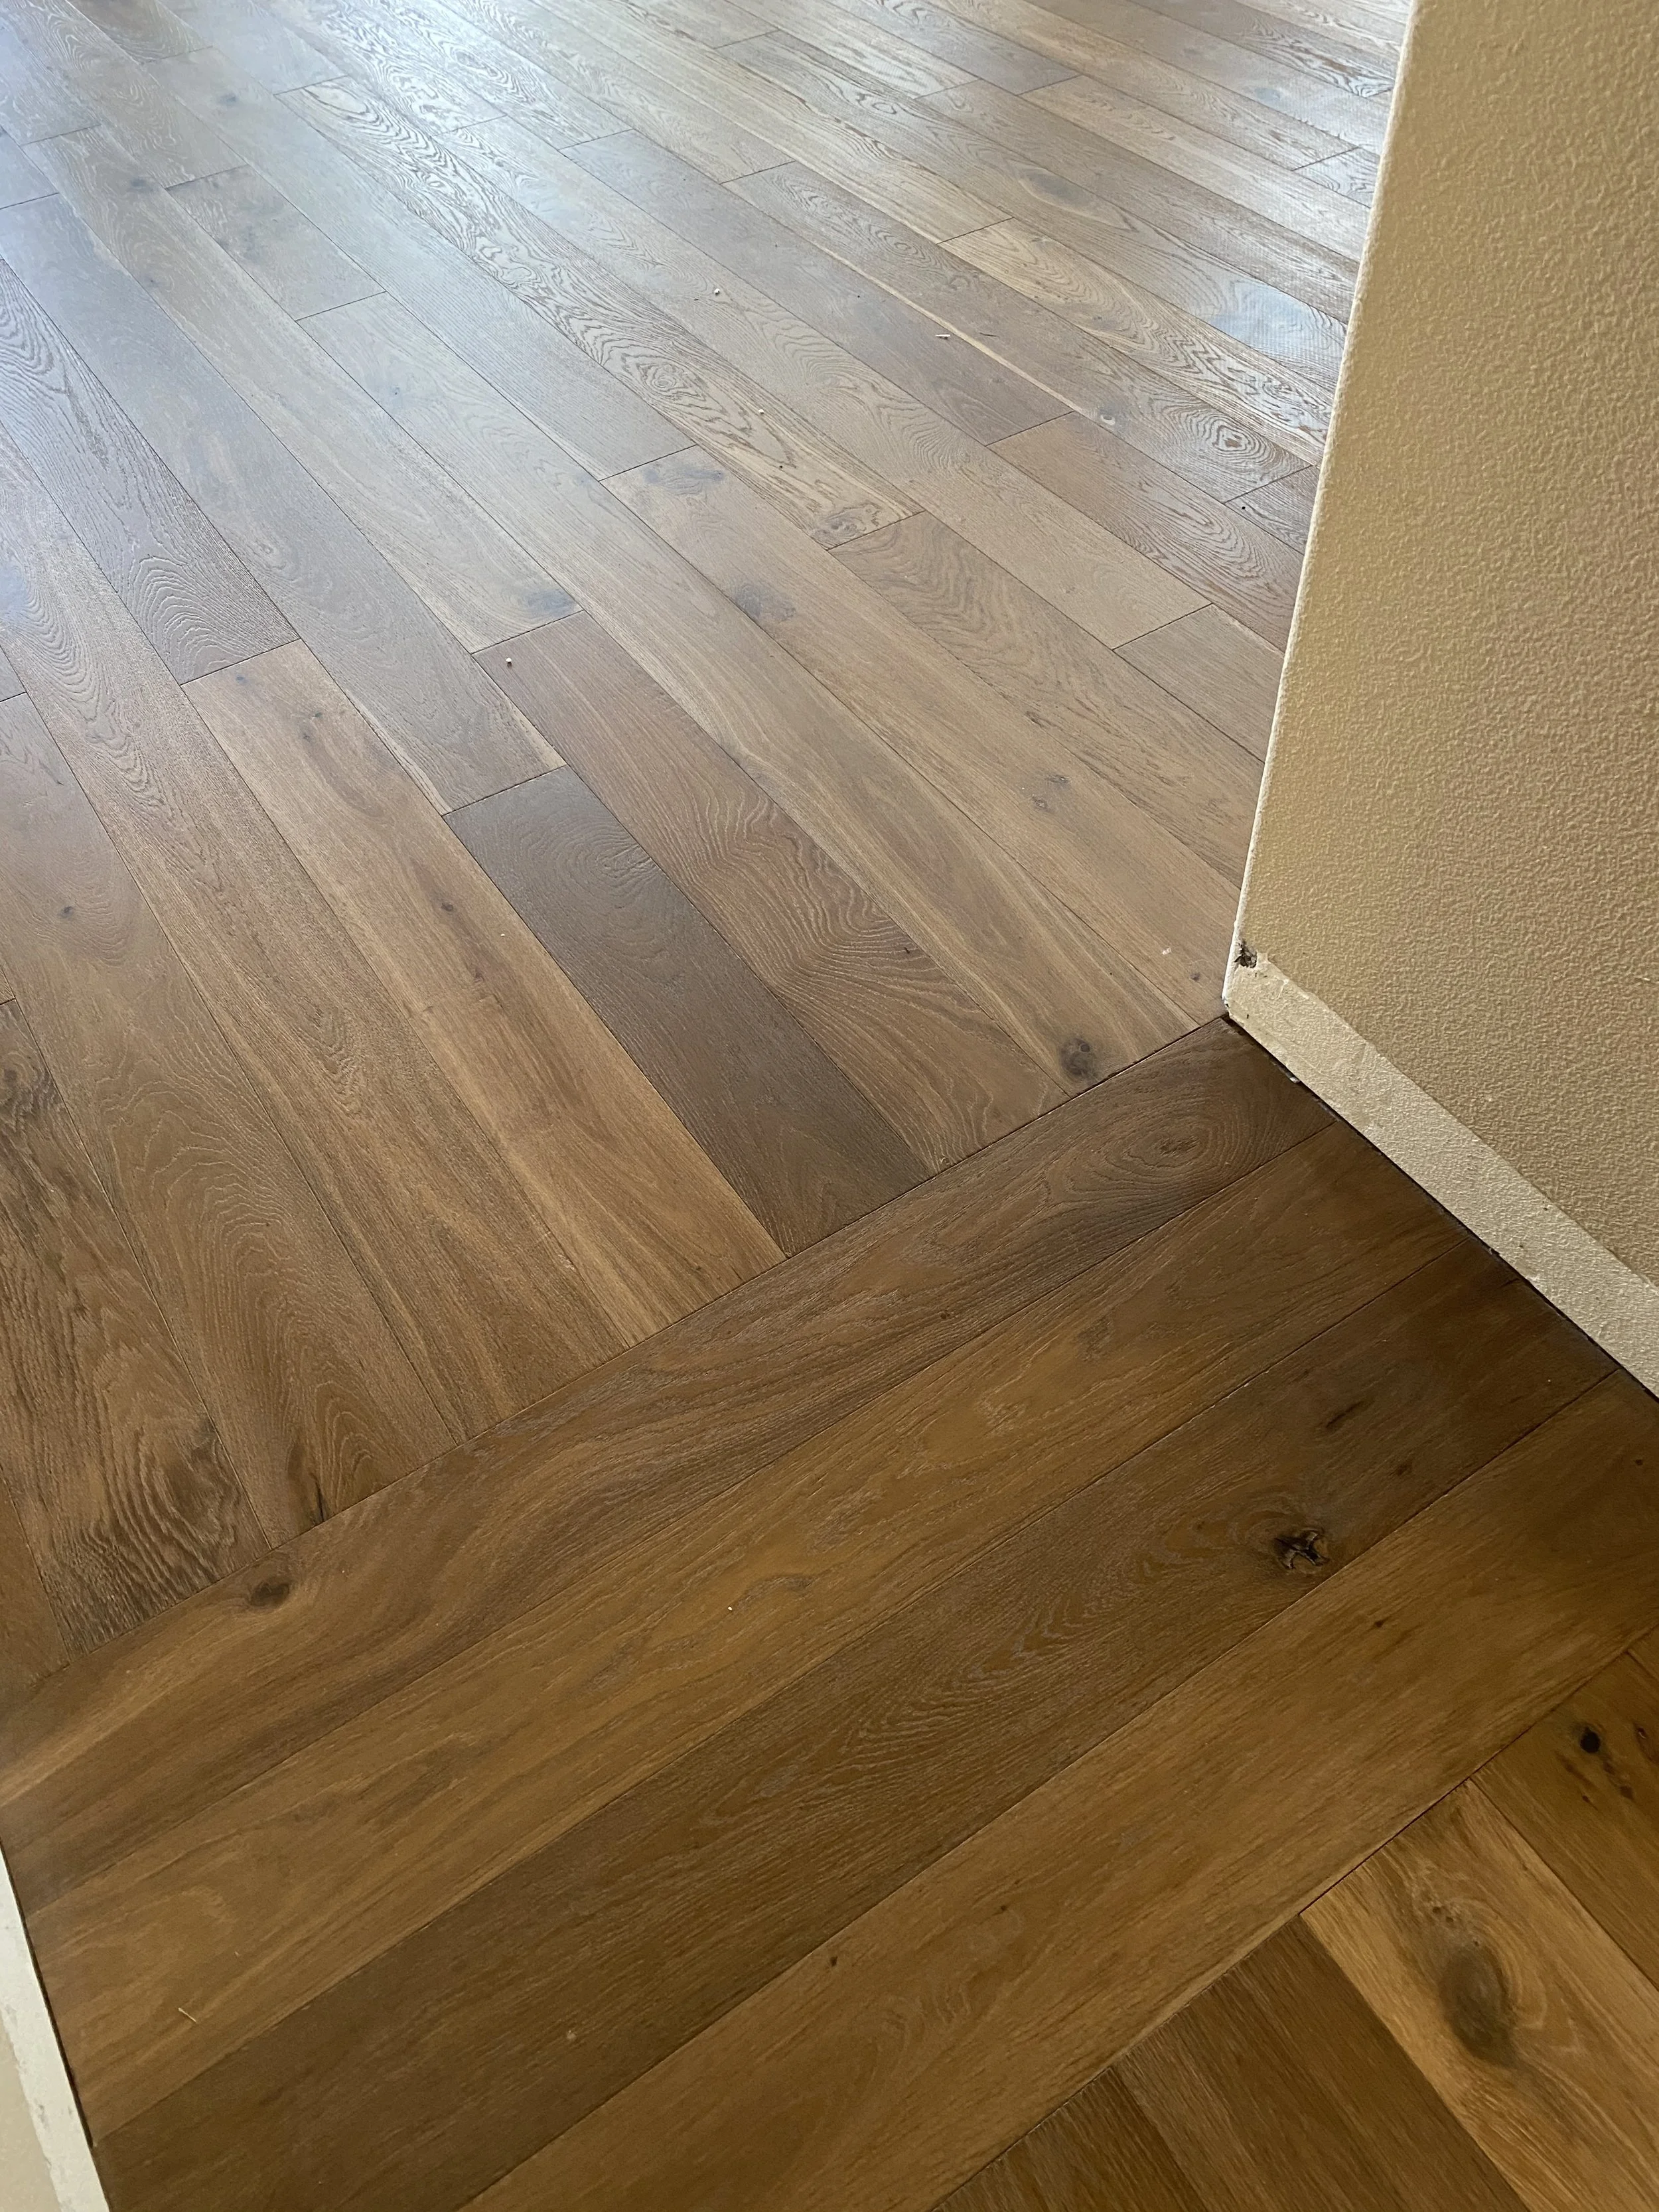
For instance, in my own home, I turned 4 planks the opposite way to stop the eye from traveling such a long distance from our front door to our back. Here’s a shot of that doorway during construction.
Threshold Transitions
If you are transitioning from one material to another, such as tile for a bathroom and wood in the adjacent hallway, you’ll want to stop them in the center of your threshold. This way, when you shut the door, the seam is beneath the door itself and you only see one material from each side.
There are many ways to finish the transition such as a T-mold made of wood, a tile trim piece or simply a very good precise cut for both sides and some added grout to seal it.


Cleaning and Maintenance
Always check with the manufacturer for your materials to determine the best way to maintain them. If you go outside of the recommended methods or supplies, it’s possible you many void your warranty.
If you haven’t checked out my DIY Outlet recently, you can find it here. The Kitchen & Bath Planning Guide is very useful when planning a renovation for your kitchen, bath, laundry or entertainment space.


